
Strap on your magic shoes and prepare for a colorful journey with these 20 Barney coloring pages that are all free to download and print! These sheets are perfect companions for children and parents wanting to dive into the lively world of Barney, highlighting this beloved character.
For this series, you will find a wide range of illustrations featuring charming scenes from the hit TV show, including Barney, Baby Bop, BJ, and Riff. Also featured are pages of Barney having tons of fun with his friends while they dance, learn, and play!
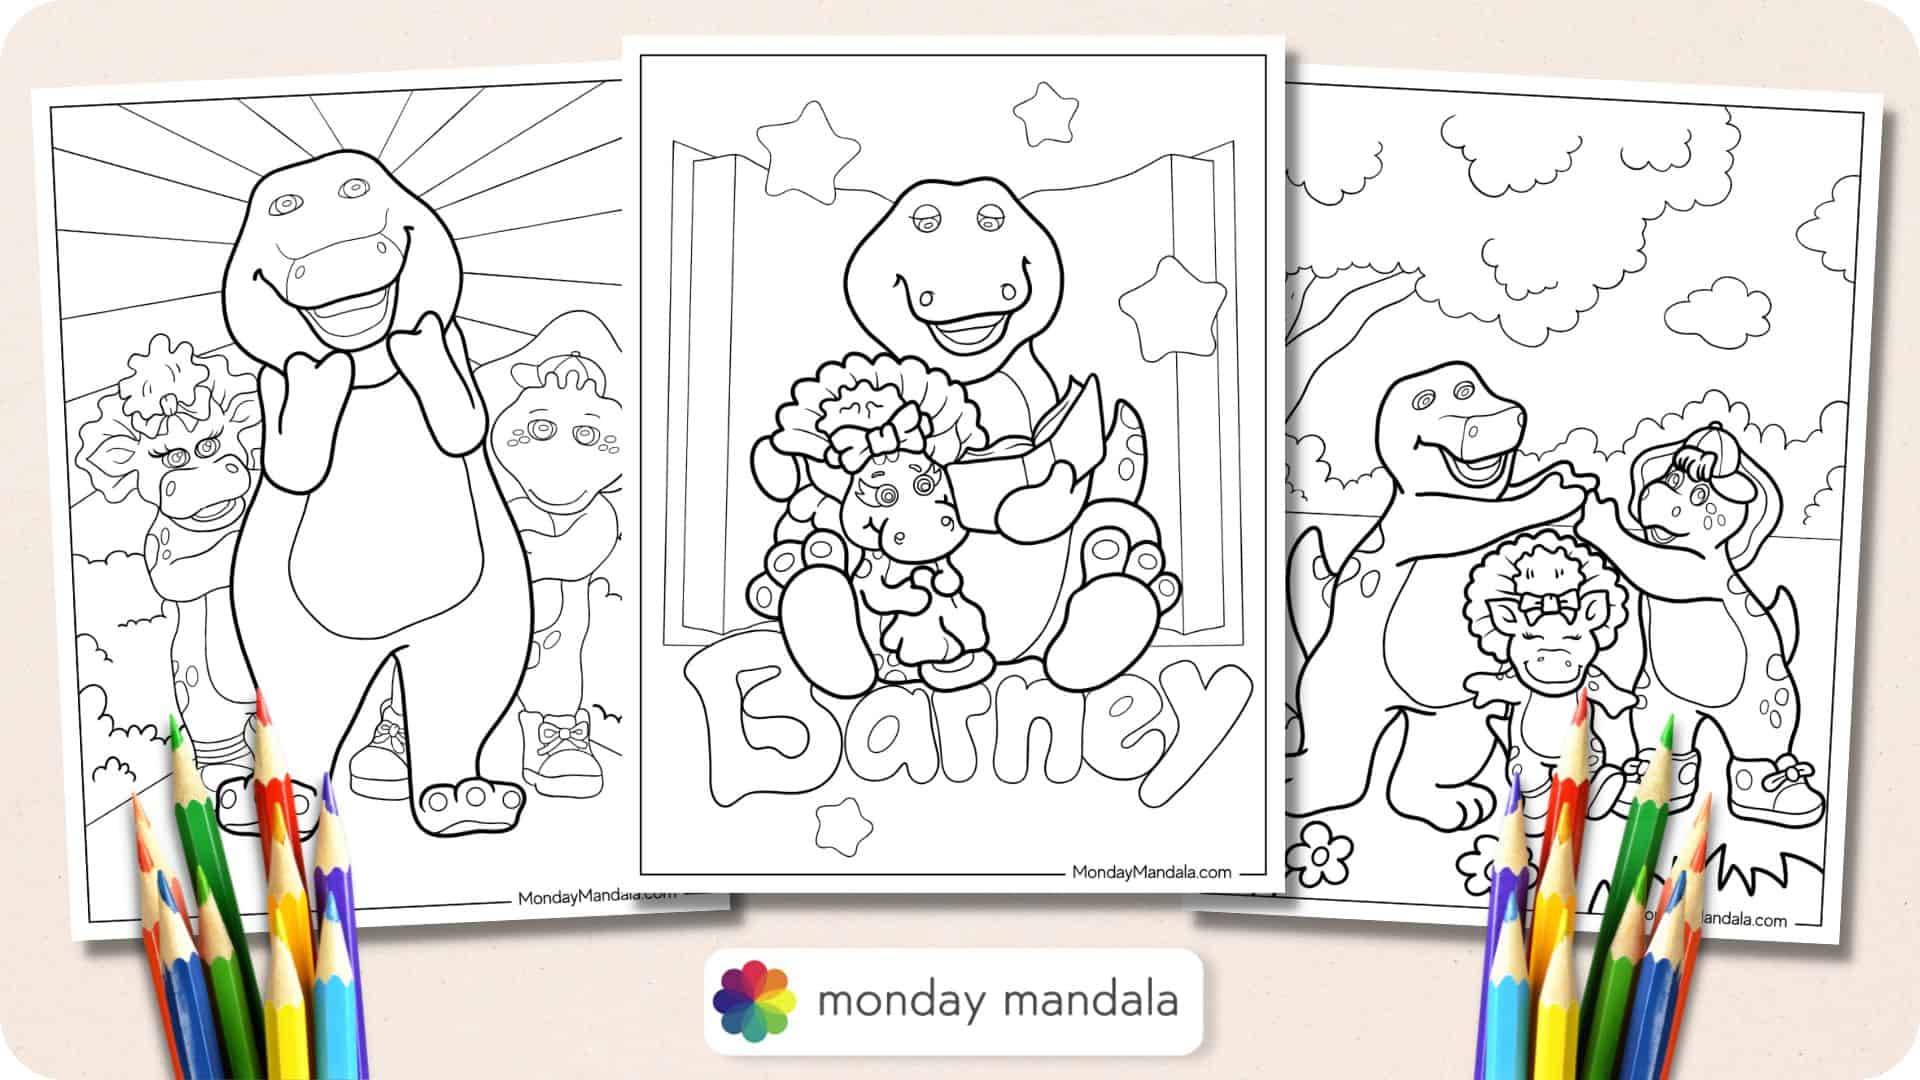
To use any of these free printables, you can click on any of the below images or links to open the high-resolution PDF on a new page. From there, you can freely download or print to your heart’s content!
All these PDF coloring pages are on standard US letter size, but they also fit perfectly onto A4 paper sizes! Enjoy!


10 Craft Ideas To Do With Barney Coloring Pages
Barney is that lovable dinosaur who’s adored all over the world.
If your youngster doesn’t know what to do with all those finished coloring pages, try these unique and affordable crafts.
1. Make an Original Desktop Organizer
To make a fun and original organizer for craft supplies, begin with four empty toilet paper rolls laminated with purple construction paper. Glue these together in a square.
When Barney is finished, the page should be glued to thin cardboard and carefully cut out.
Use scissors to make a slit so the cutout can be slid into the middle of the cardboard rolls.
Green pom-poms, wiggle eyes, purple and green glitter and other craft items can be added to make this 3D organizer a one-of-a-kind item!
2. Abstract Popsicle Art
Begin this cute project by cutting two circles from purple construction paper, placing a thin layer of cotton batting in between, and gluing them together.
Cutouts from finished Barney coloring pages should be glued to each side of the popsicle.
Attach a craft stick to the back and seal the entire ensemble in plastic wrap.
When a green bow is tied around the handle, it looks just like a real popsicle!
3. Design Barney Medals
This craft is a perfect classroom activity and is easily made. Give each child a piece of green construction paper from which to cut a circle.
The circle should be glued to a piece of thick cardboard and trimmed around the edges in any design the child prefers.
When Barney is colored and cut out, he should be glued to the circle’s center with invisible glue and the entire piece sealed in contact paper.
When a hole is punched at the top for a piece of purple yarn, the youngsters have wearable Barney medals!
4. Barney Birthday Decoration
To make this adorable birthday decoration, let the child cut a large circle from purple construction paper and write his or her name on it in puffy white paint.
Next, the corresponding birthday number should be cut from green construction paper and set aside.
Finally, have the youngster color Barney and Baby Bop, and cut them out.
All four cutouts should be glued to thin craft sticks and arranged and anchored in a piece of styrofoam. Display this cute birthday decoration anywhere.
5. Design a One-of-a-Kind Barney Hat
To make this super-fancy Barney crown, give the youngsters a long piece of green poster board approximately 10 inches high.
Have them cut triangular peaks all along the top edge, which they can decorate with tiny green and purple pom-poms.
When Barney is colored and cut out, he can be attached to the crown’s front with invisible glue.
Add giant wiggle eyes to finish up this original, fancy hat.
6. Hilarious Fun with Barney
Coloring pages featuring Barney’s face are needed for this craft. When the face is colored, glue it to thin cardboard and cut it out.
A slit should be made along the mouth so that something can be pushed through.
A large craft stick can then be glued to the cutout’s back side so the youngster can hold it in front of his or her face.
When a green party blowout is pushed through the mouth opening from the front, and the child blows air into it, it looks like Barney has a hilarious green tongue.
7. Bobble Head Barney
Begin this craft with a page featuring a full-size, front-view Barney character. When colored, the head and body should be cut out separately.
Leave extra space at the body section’s base for a tab.
Both sections should be reinforced with poster board, and the tab at the body’s base should be used to glue Barney into an upright position on a cardboard foundation.
Using a small craft spring, pierce the top end through the bottom of the head cutout and the other end through the body. At the slightest movement, Barney’s head bobbles up and down!
8. Pincushion Barney
Barney’s big green tummy is perfect for this hilarious craft.
When the character is colored and cut out, the youngster should glue a handful of cotton balls to its center, using green glitter to embellish them.
The cutout should then be laid flat, and sheer fabric, such as that from old hosiery, placed over the top of the cotton and stapled fast.
The ensemble can then be glued to a small piece of corkboard and used as a real pincushion!
9. Barney Rides a Rocket
To begin this inventive craft, have the youngsters fashion a makeshift rocket from an empty paper towel cardboard.
They can draw on windows and add launchers on one end and a cockpit on the other. Both can be made from construction paper.
Once Barney is colored and cut out, he should be glued around the rocket as if he’s holding on for takeoff.
The paper towel roll will stand on its own so that this hilarious craft can be displayed anywhere!
10. Classroom Fund With Barney Balloons
All children love blowing up balloons, and Barney is the perfect character to decorate them with.
Using traditional green and purple balloons, have the youngsters use cutouts from the finished coloring pages to make them fancy.
It’s best to apply these with kraft glue, but invisible glue works too. They can be attached in their entirety, or glued on decal-style, which is easier than it looks.
The youngsters can use markers to write messages on the balloons carefully. This craft is extra fun with helium balloons!