Get ready to unleash your inner artist with these 28 ultra-cute Disney coloring pages, which are free to download and print! If you’ve been looking for the most adorable renditions of Disney’s iconic characters, this is the coloring set for you!
For this series, we’ve included lovable characters such as Mickey Mouse, Snow White, Tinker Bell, Cinderella, Minnie Mouse, Simba, Ariel, and more, all illustrated in an irresistibly cute style. You’ll also find classic and newer characters like Elsa, Moana, and even Olaf!

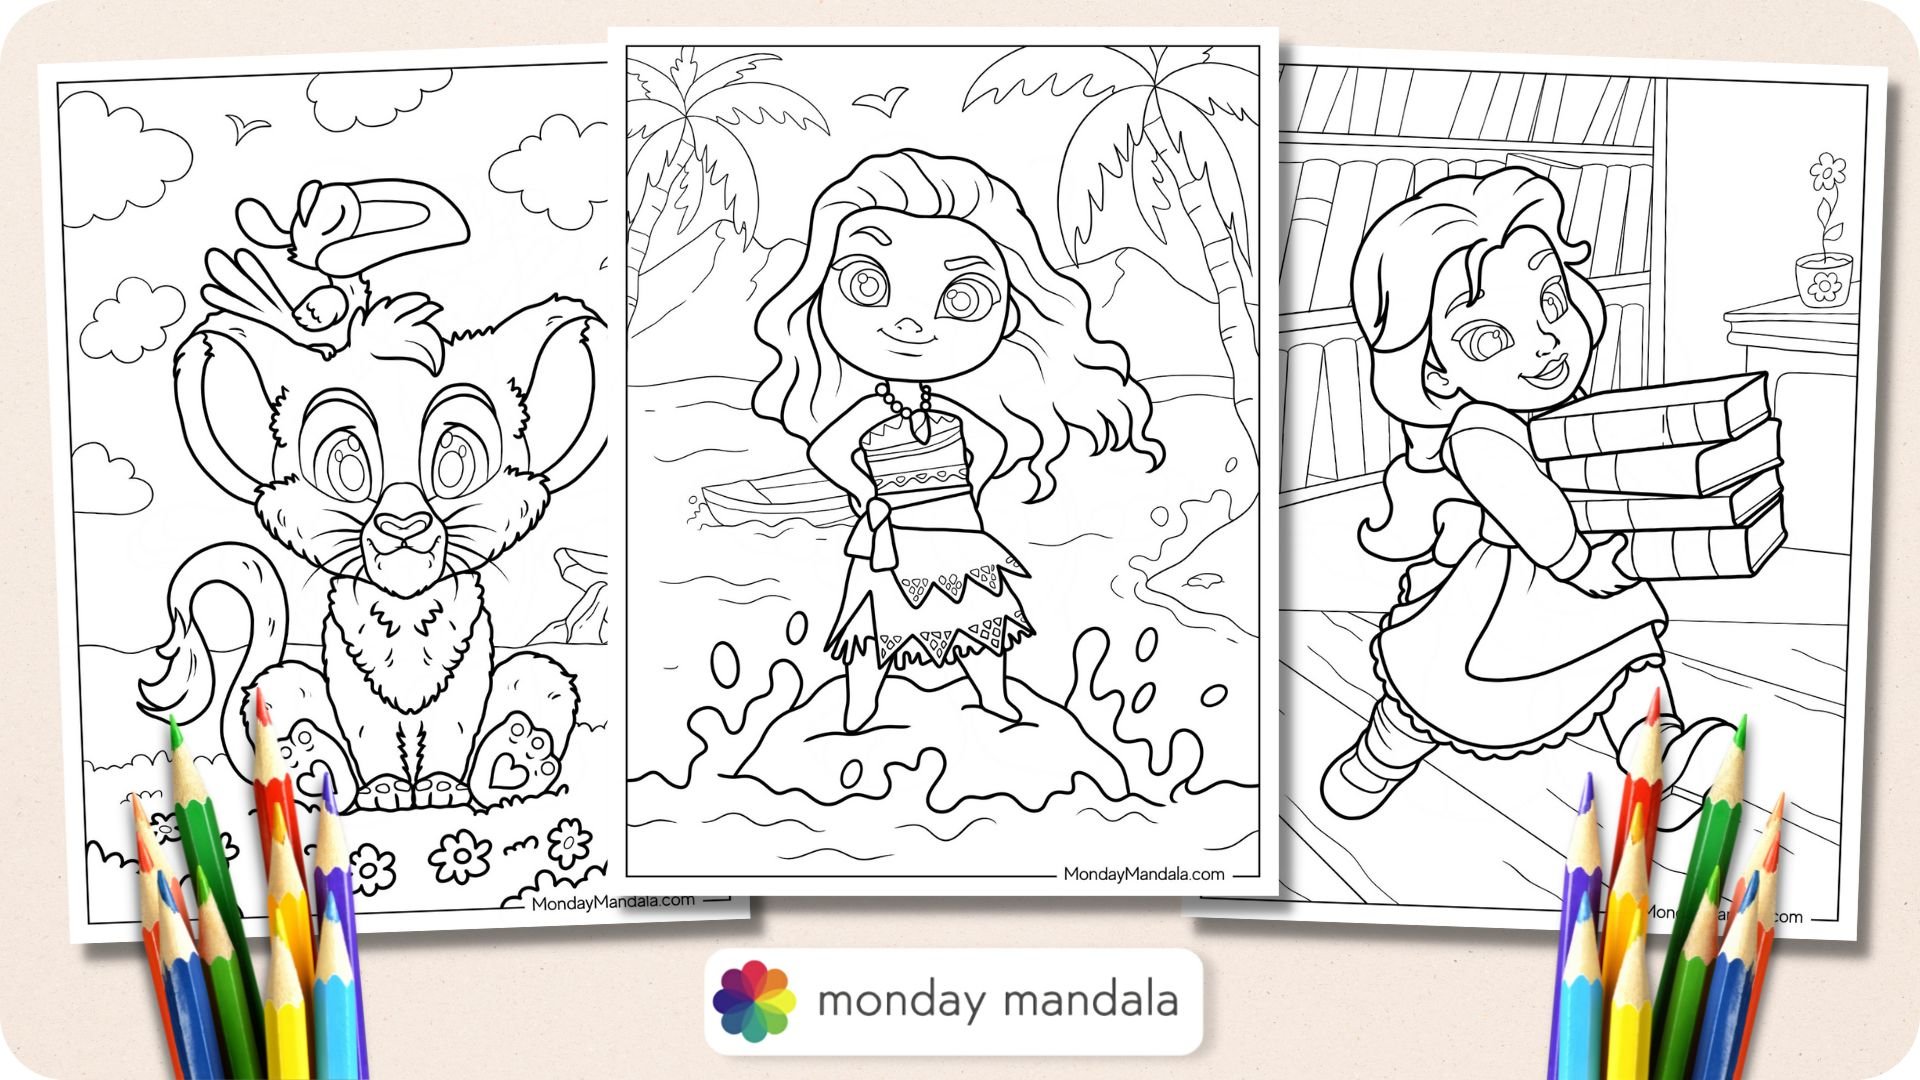
To start coloring any of these pages, click on any of the below pictures or links to open the PDF copy on a new page. Once opened, you can freely download and print as many times as you like!
All these PDF coloring pages are on standard US letter size, but they also fit perfectly onto A4 paper sizes. Enjoy!


10 Craft Ideas To Do With Cute Disney Coloring Pages
Here are 10 affordable, fun, and creative craft ideas you can do with your completed coloring page!
10. Play Figures
For your little kids, you can turn my cute Disney pictures into cute play figures – or paper dolls, if you’d rather.
You’ll print out the characters you want to use onto cardstock – which is less flimsy and more durable than regular computer paper.
Color in the figures, or have your kids do it and then cut them out.
That’s it! It’s an easy DIY where the end product is a toy that uses your kids’ imaginations.
9. Nursery Décor
My cute Disney pictures are so adorable, they would look just perfect on the walls of a nursery.
You can pick the characters you want to use and color them in carefully, using high-quality markers or colored pencils.
Then, pick up nice frames from Walmart or Target and put the pictures inside.
You can hang them up like a gallery wall or staggered throughout the nursery.
8. Baby Shower Invitations
If you’re throwing a baby shower for a friend or family member and you want to save on invites, just use my cute Disney illustrations – they’re perfect for the job.
You can copy/paste the entire picture onto a word processor document that has been oriented to landscape and center the picture on the right-hand side.
Add in-text – “It’s a shower!” or similar – and if you have access to a color printer, you can digitally color in the image.
Then print it out, fold it over so that the picture is on the front, and manually write the shower information on the inside.
7. Baby Shower Decorations
My cute Disney illustrations would also make super-adorable shower decorations that are inexpensive, to boot.
You could cut out individual characters, string them together, and make bunting for a wall, or use them to make cupcake or cake toppers.
They could be cut out and propped up with toilet paper rolls and used as place settings or have note cards attached for food labels.
The only limit is your imagination!
6. Perler Bead Keychains
One of the nice things about my cute Disney pictures is how simple the lines for many of the drawings are, which makes them easy to translate into perler bead keychains.
You’ll isolate the characters you want to use and place the pegboard over them. Then, “fill in” the lines accordingly with the perler beads.
Next, you’ll take a piece of parchment paper and hold it over the beads while you iron them. They’re done when there are no more little holes visible.
Let cool, and then take a large needle and punch a hole where you want the keychain hardware to attach.
5. Princess Rings
To make princess rings, you’ll print out your favorite cute Disney princess onto shrink sheets and color them in with markers.
Then, cut them out and bake the cut-outs per the instructions.
Meanwhile, gather your other supplies: flat-topped plastic rings and a hot glue gun.
Once the cut-outs are cooled, you’re going to hot glue them to the flat top of the rings; press down so the glue spreads out and holds for a few seconds.
Let them dry for about 15 minutes, and then you and your kiddos can start stylin’!
4. DIY Magic Wands
For this craft, you will need wooden dowels, as well as cardstock or construction paper and ribbon.
You’re going to take the cardstock or construction paper and cut out two stars, then glue them to each other, leaving a small space near the bottom unglued.
Pick the Disney character you want to use, print it out, color it in, and cut it out, then glue it on top of one side of the stars.
Take the dowel and stick it through about half an inch into the bottom of the stars and glue around it. Wait for the glue to dry before proceeding.
You and your kids can embellish the wands with ribbon – or lace if you have any – and you can paint the dowel to match the character you have chosen.
3. Picture Frames
Pick up some inexpensive frames from the dollar store (or thrift them!) and set aside.
You’re going to pick cute Disney characters to use and print them out onto shrink sheets.
Color them in with markers, cut them out, and bake.
Once the baked cut-outs have cooled, you can hot glue them to the frames. Let the glue dry for a few hours before putting in a sweet picture.
These make great, inexpensive gifts!
2. Mouse Ear Headbands
You can find mouse-ear framed headbands online at Amazon.
Pick which characters you want to use in the ears and print them out onto cardstock.
You’re going to put the ear frames over the pictures, framing the part of the illustrations you want to use and trace the ear shape over them.
Then cut out along the lines you have drawn. You’re going to dab glue onto the edges of the cut-outs and slide them into the ear frames. Let the glue dry before wearing it!
1. Planter Decorations
Dress up your house plants by printing out the Disney characters you want to use onto shrink sheets, coloring them in with marker, cutting them out, and baking.
Once they’re cool to the touch, you can glue (hot glue is best) little wooden dowels to the backs.
You can then stick them into the planters for adorable DIY decoration!