
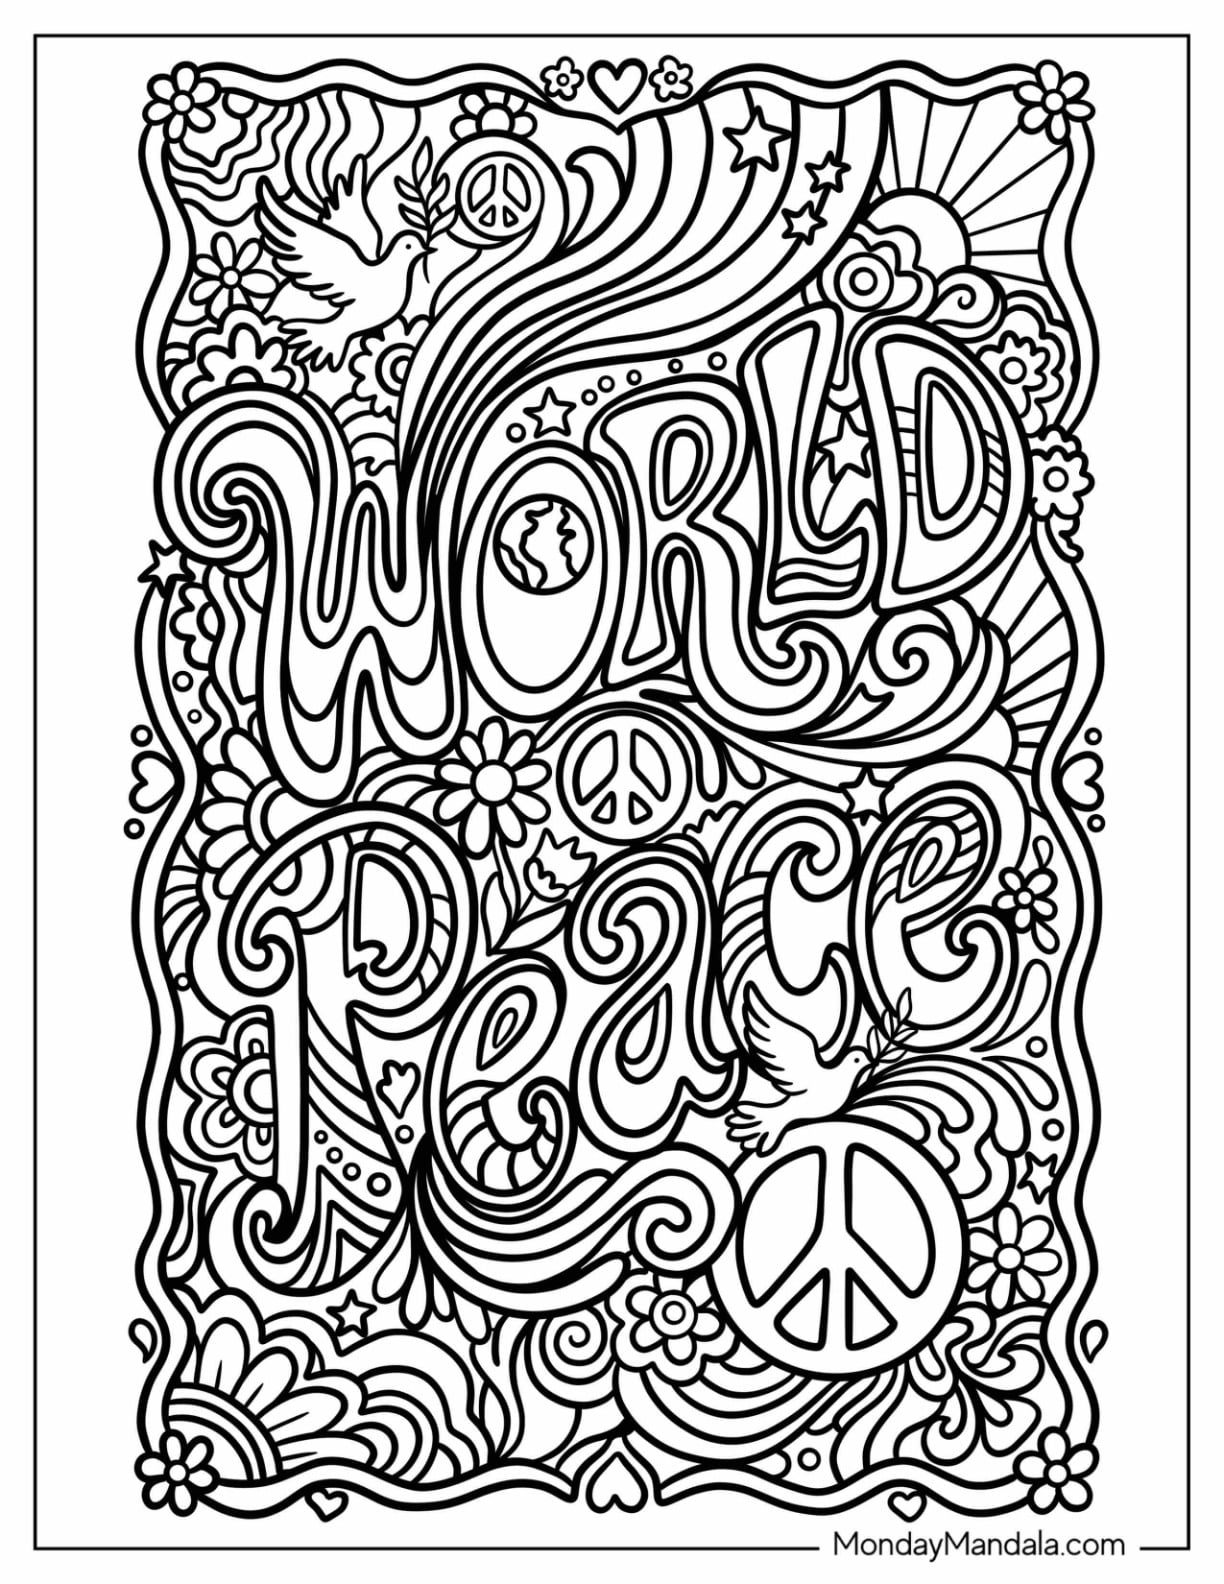
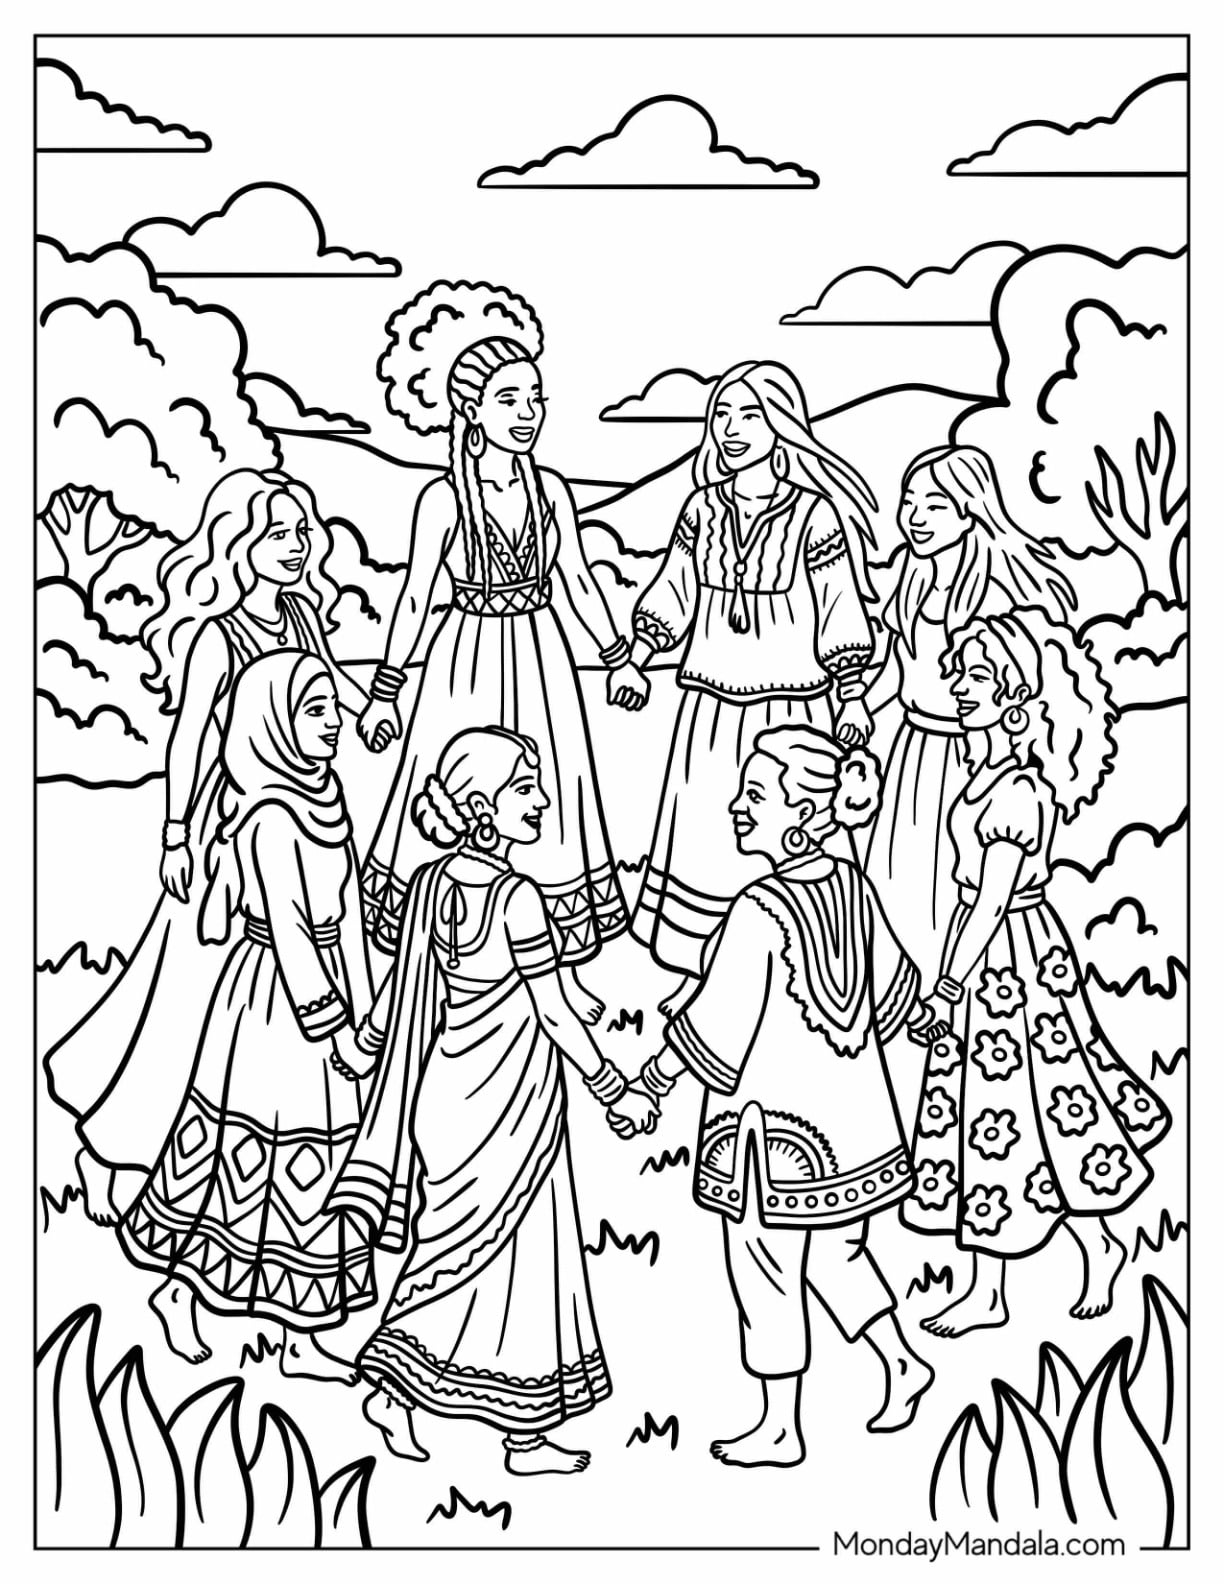
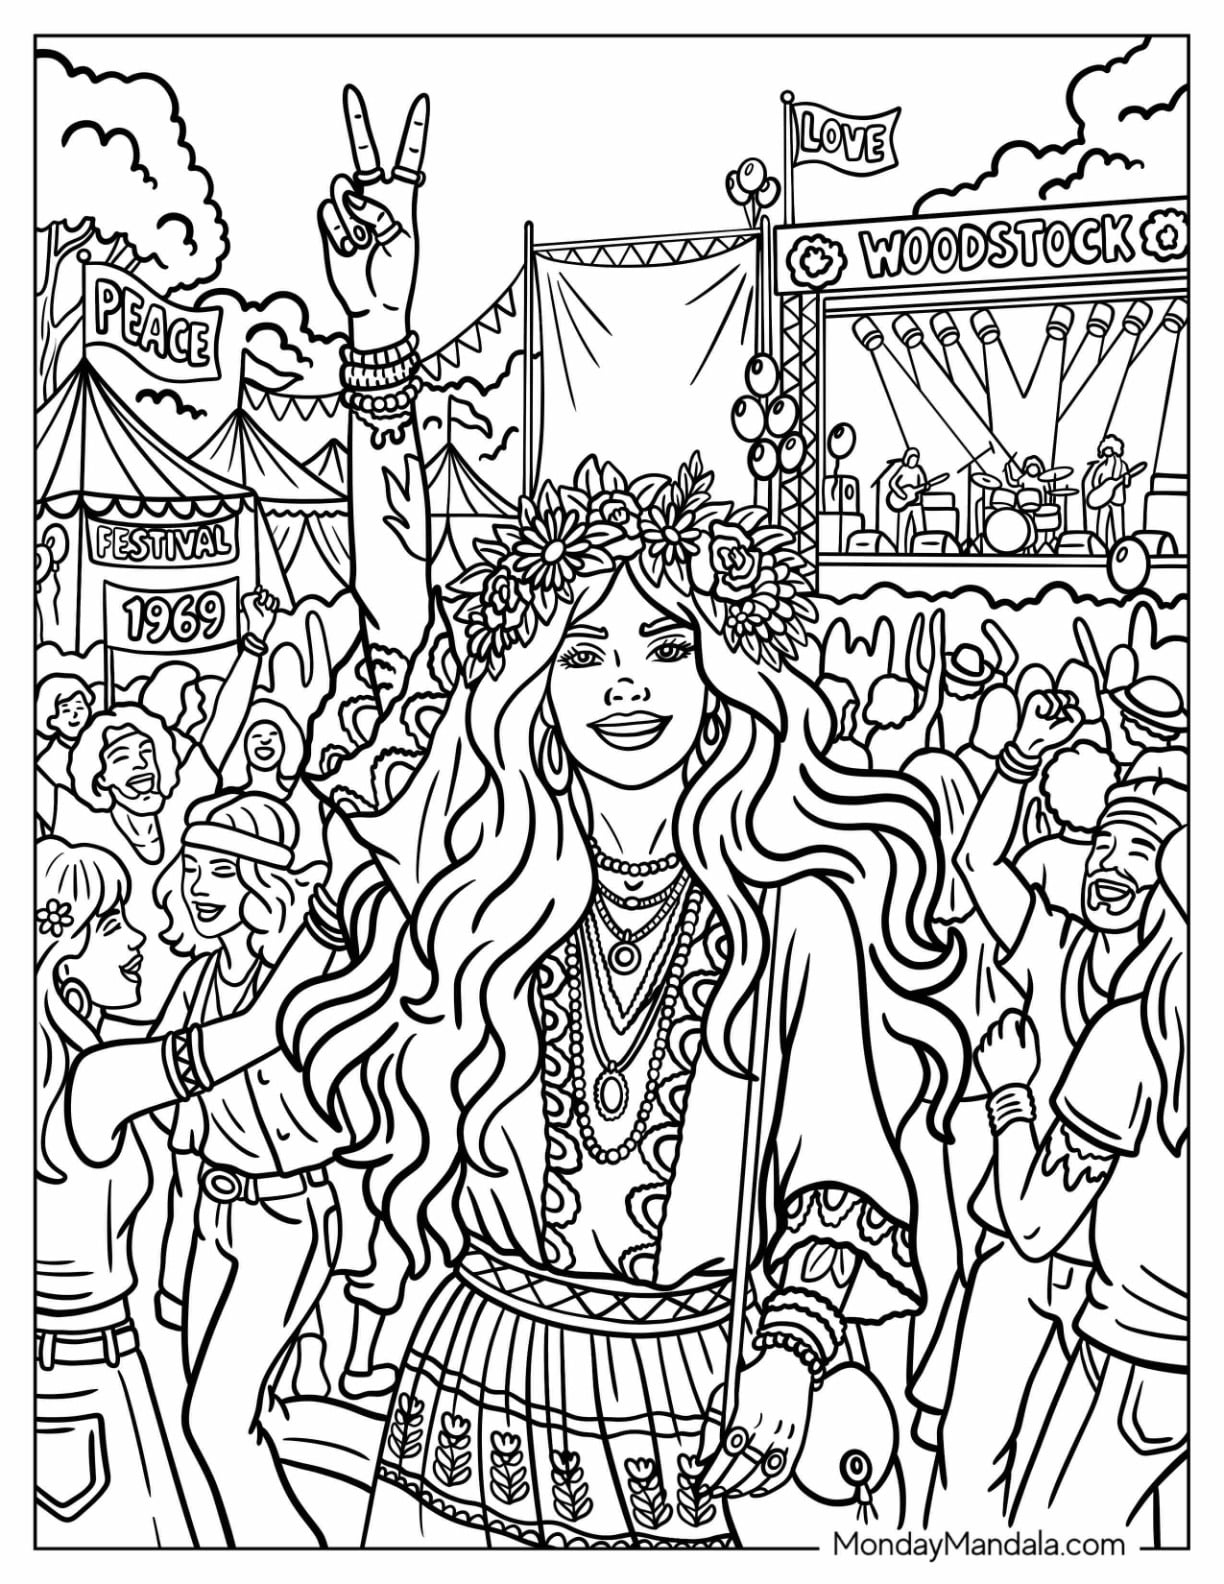
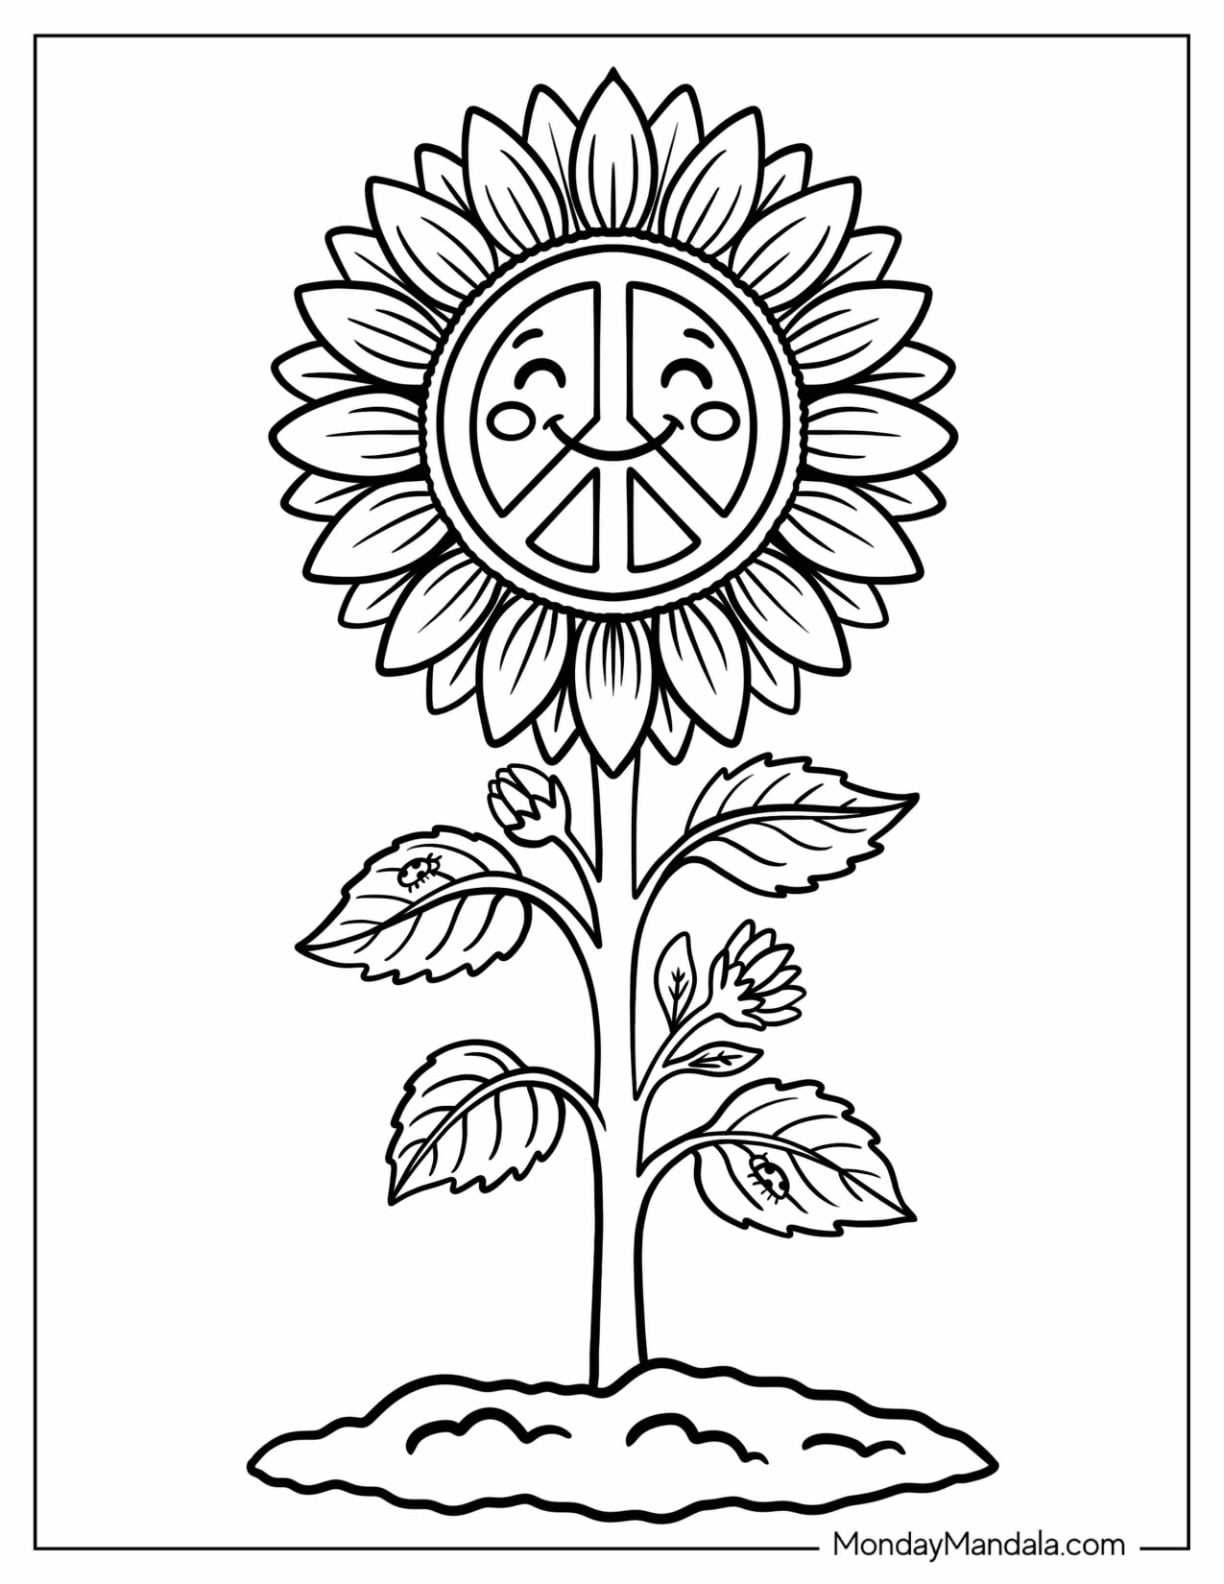
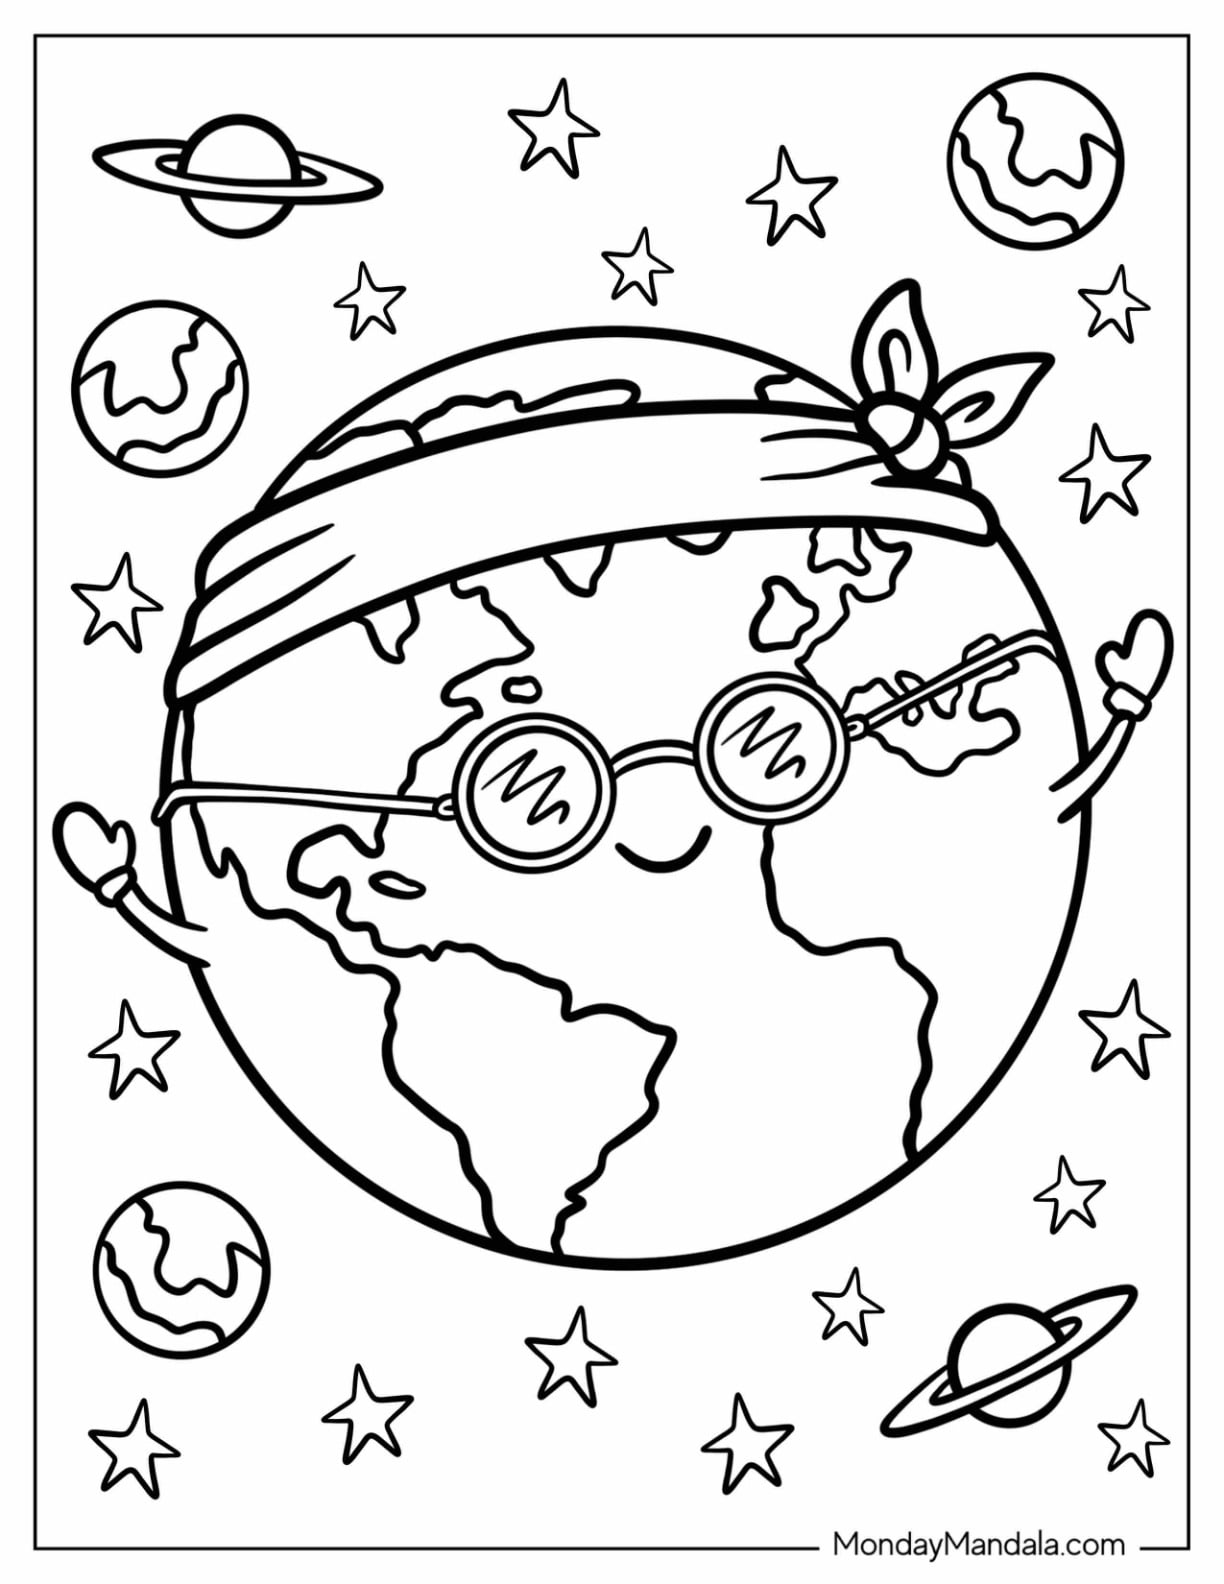
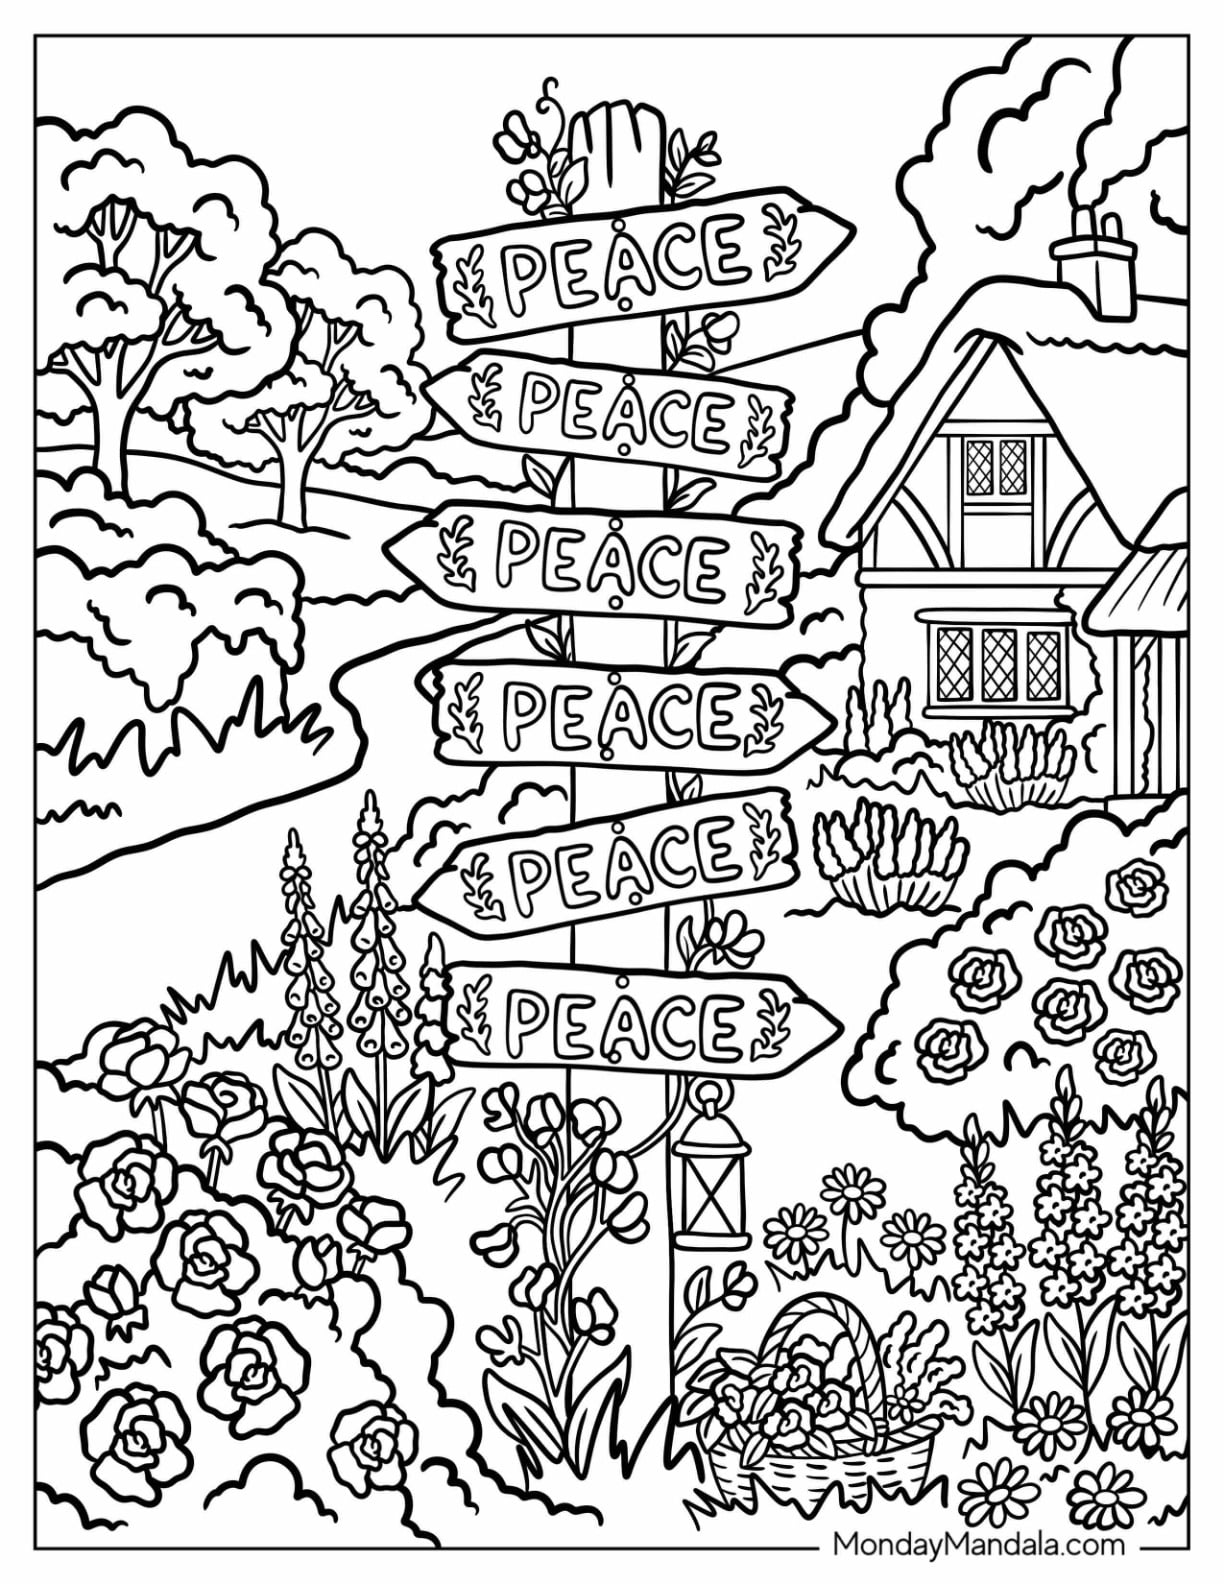
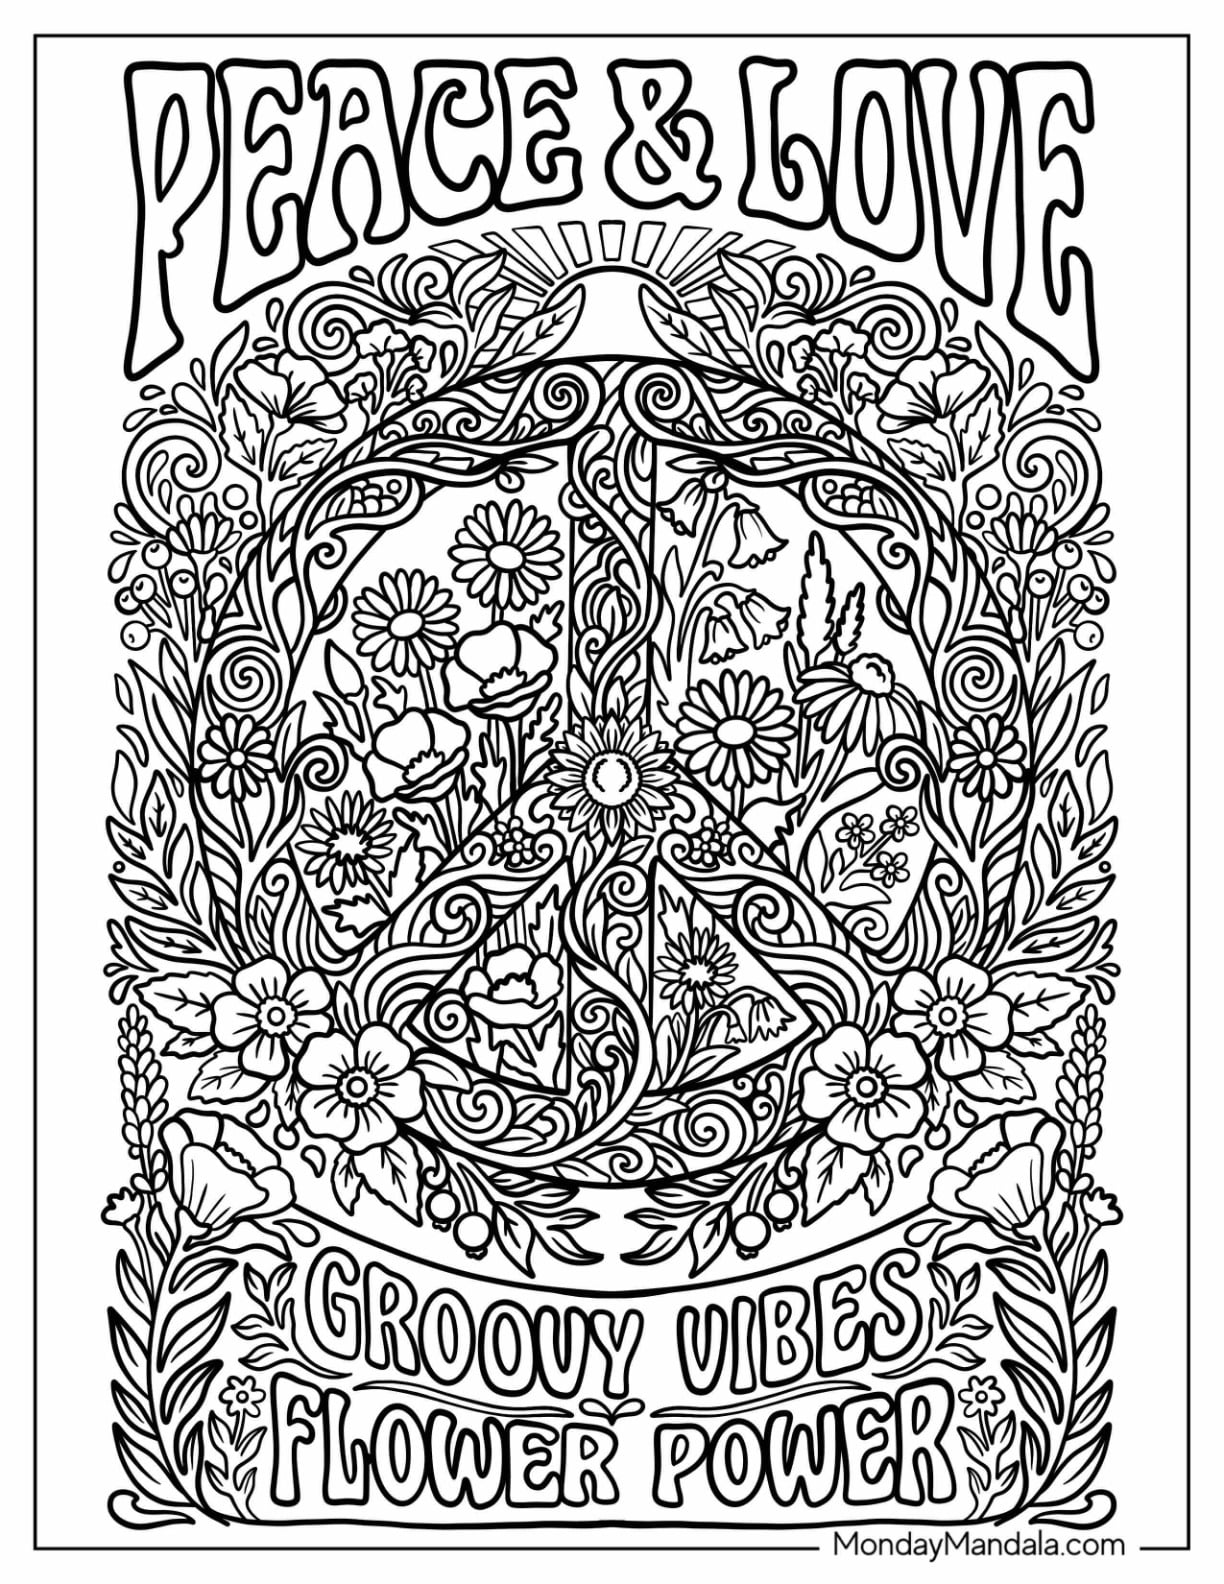
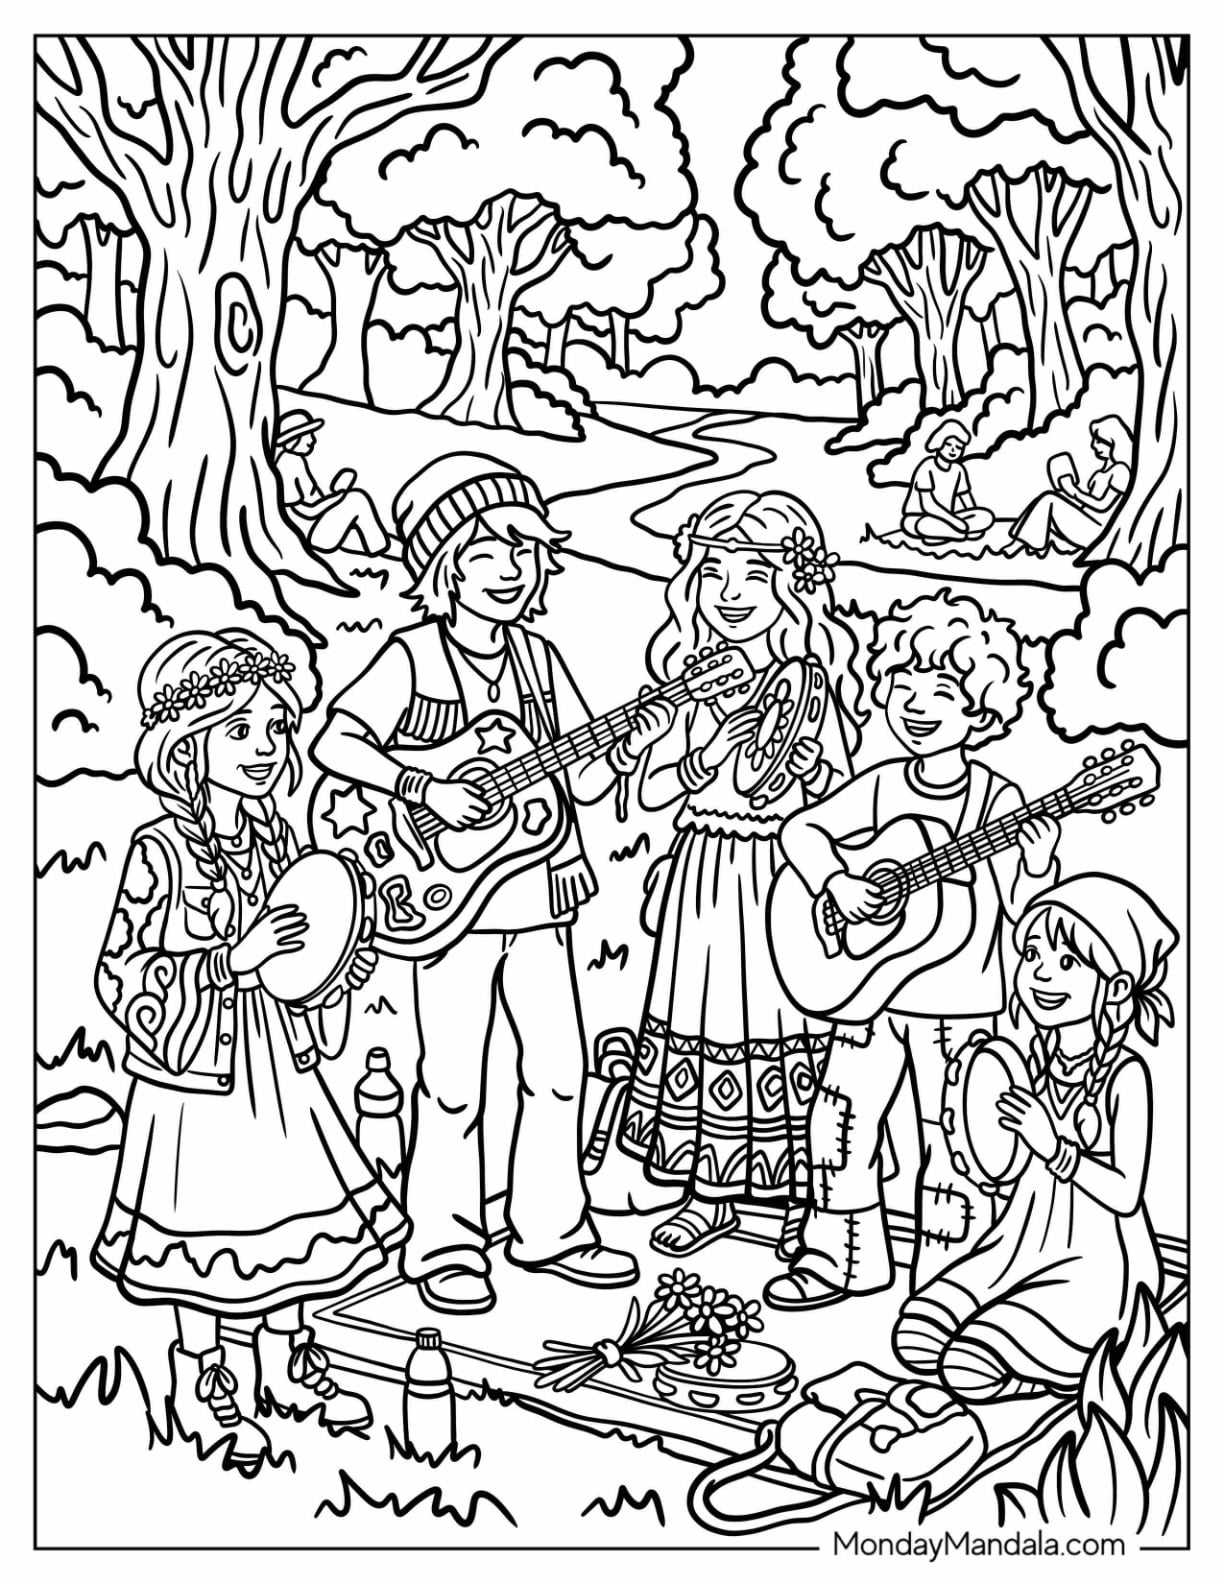
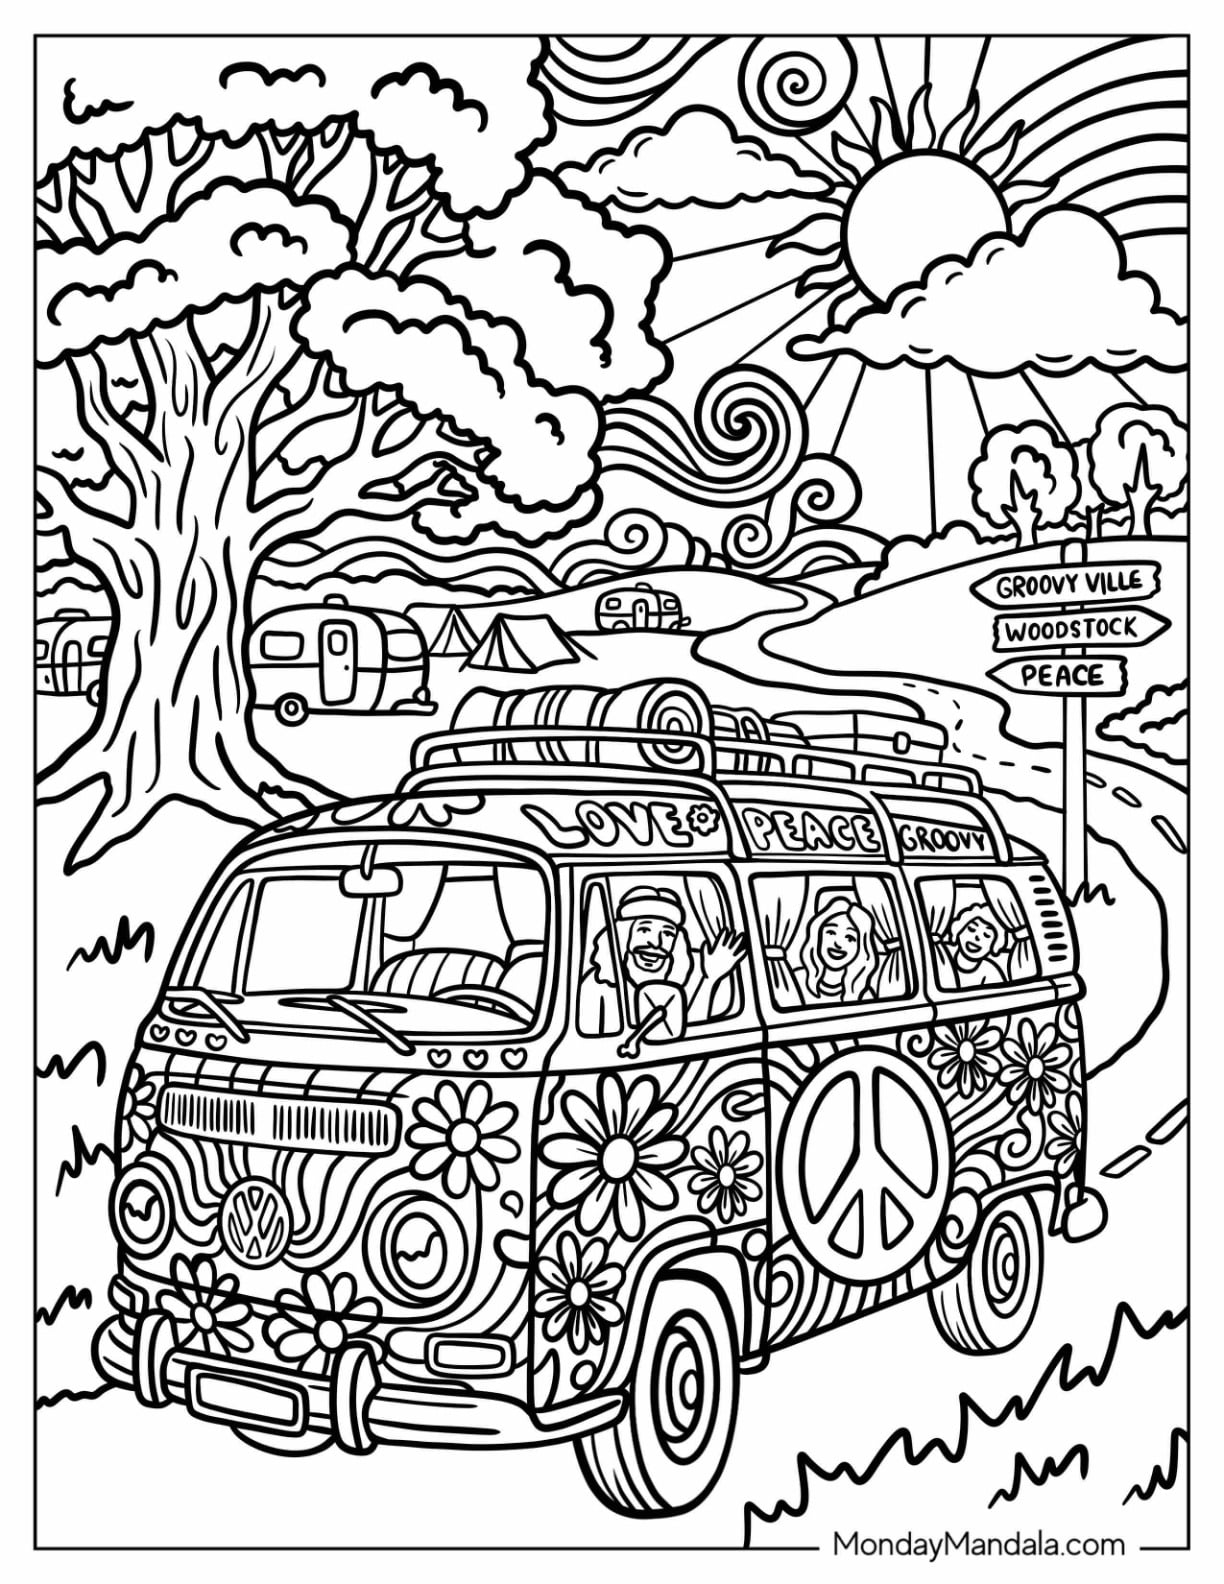
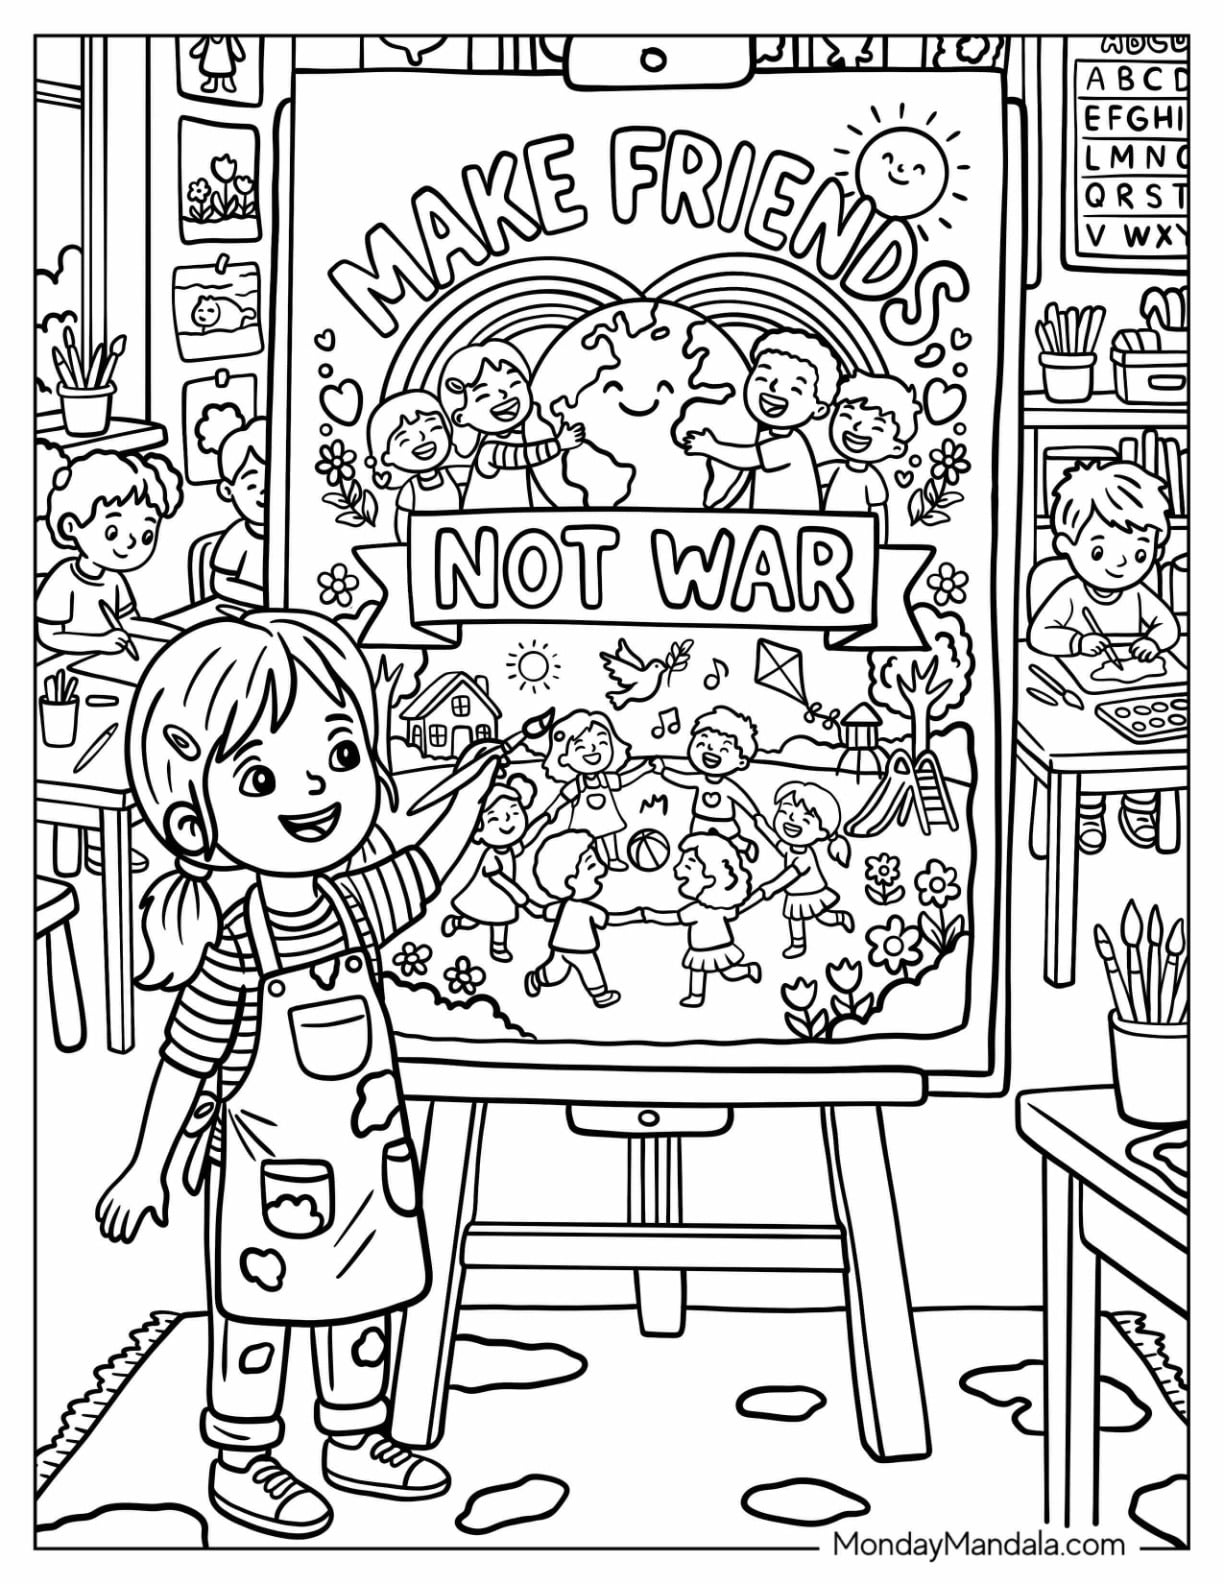
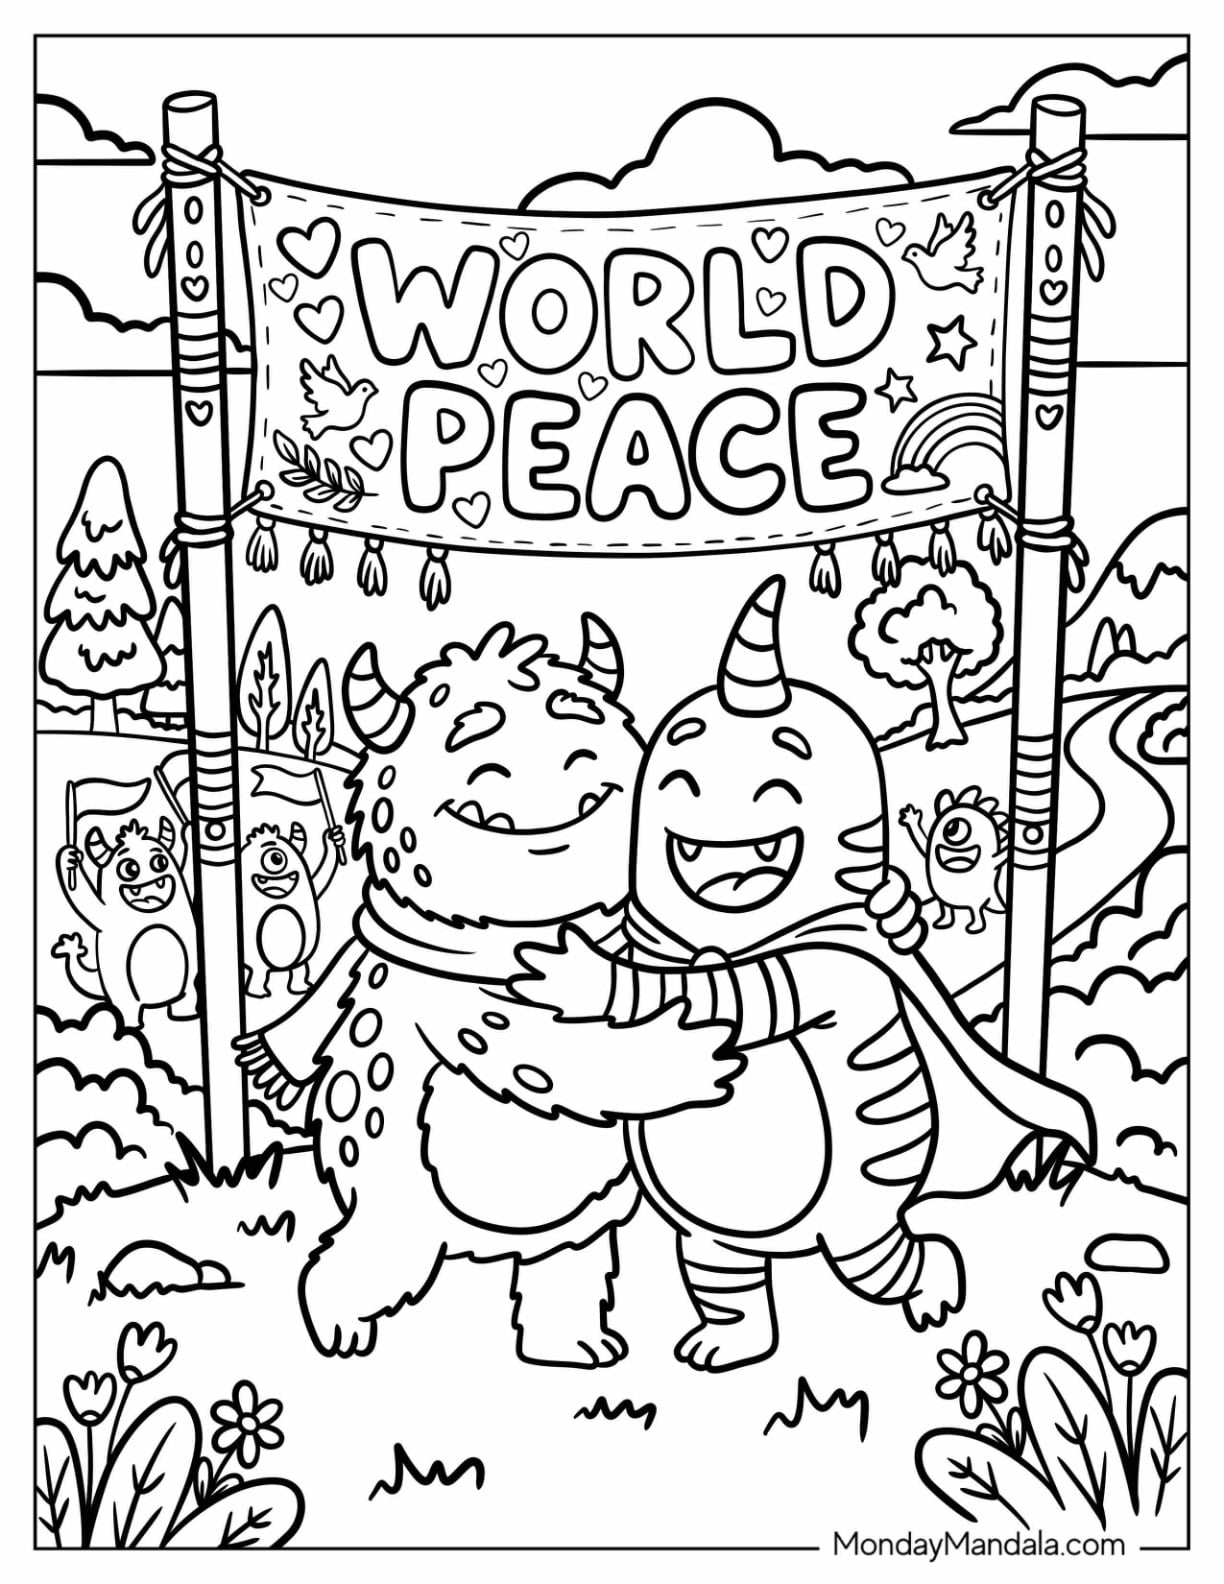
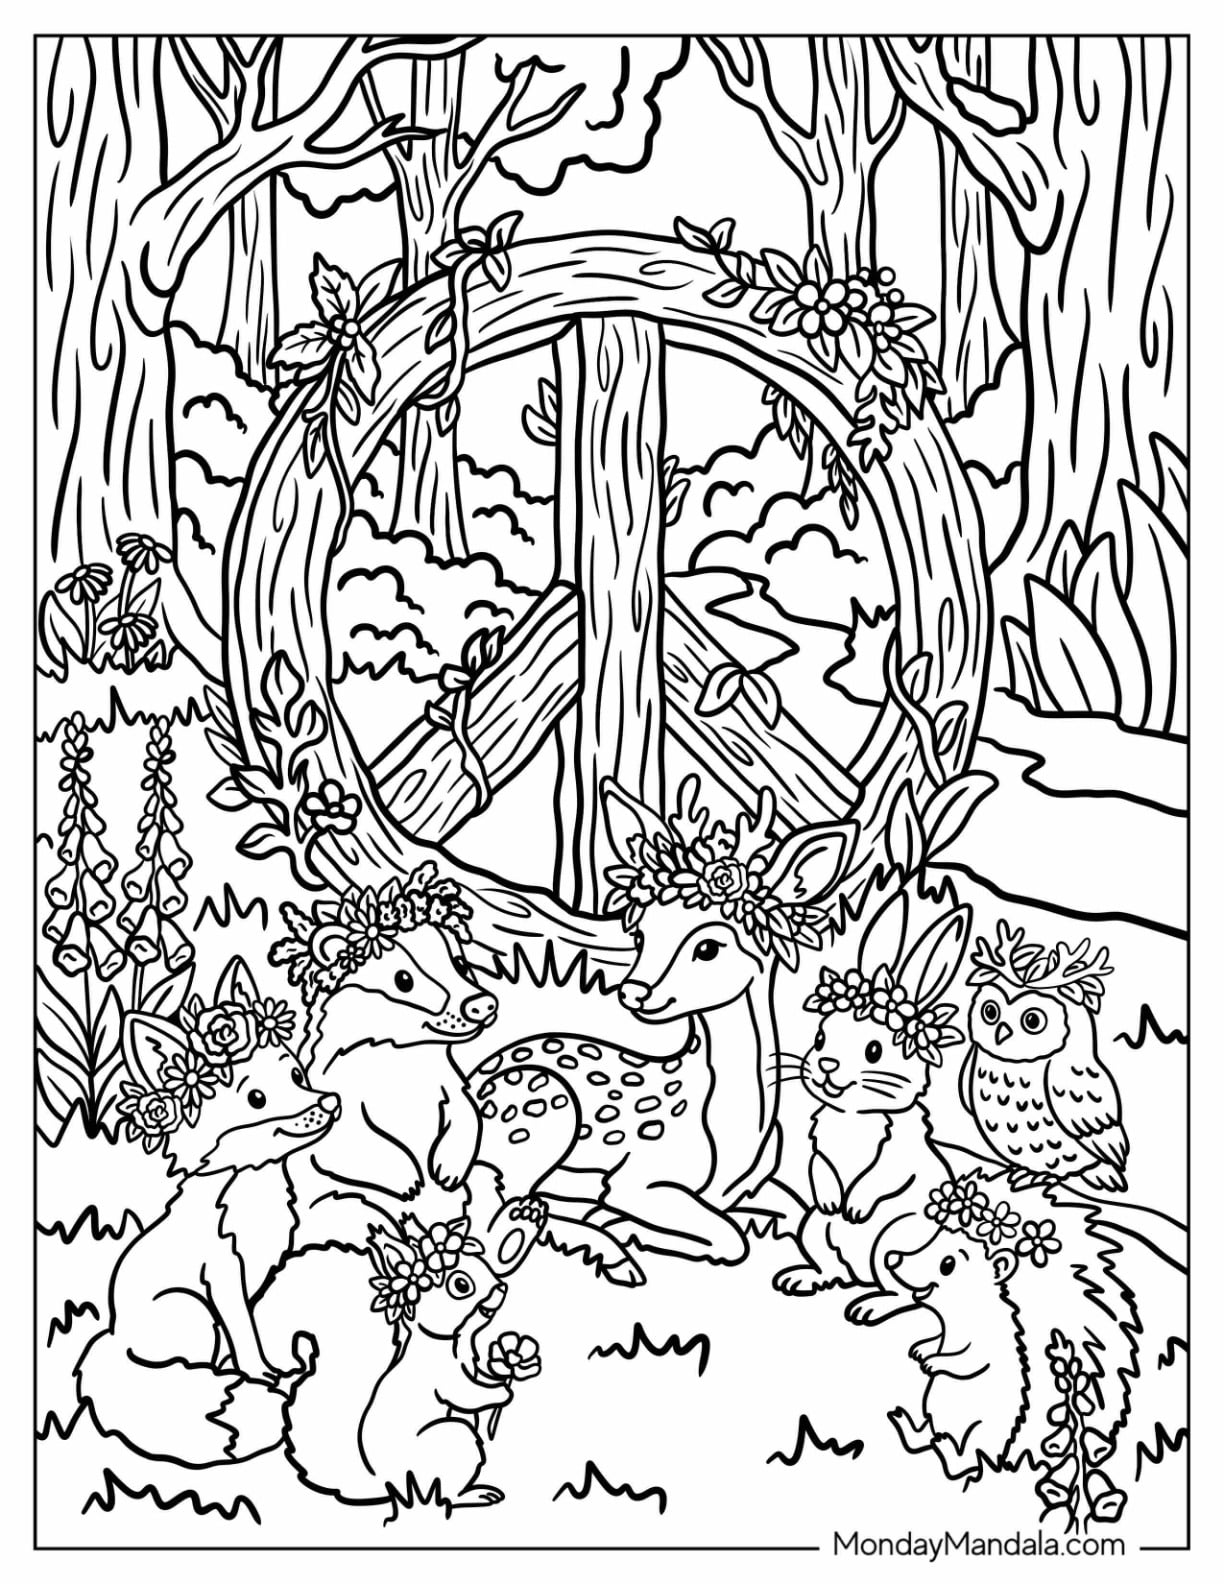
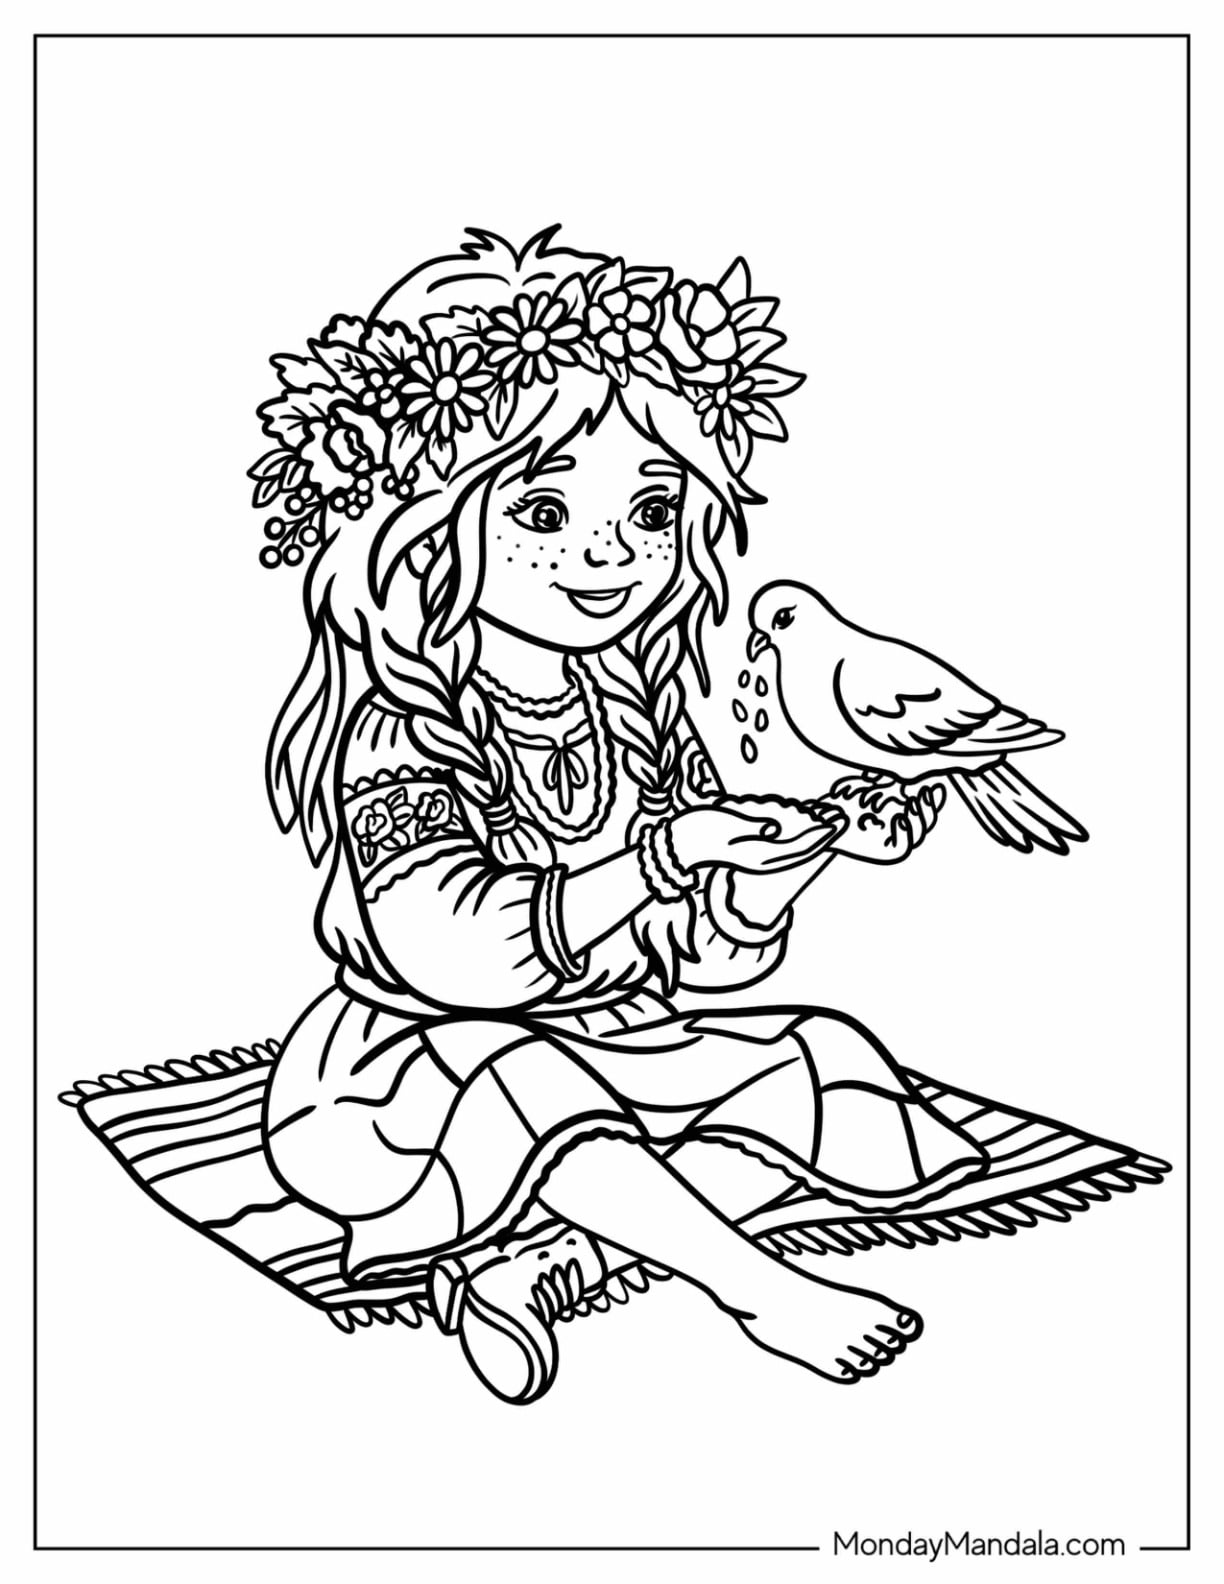
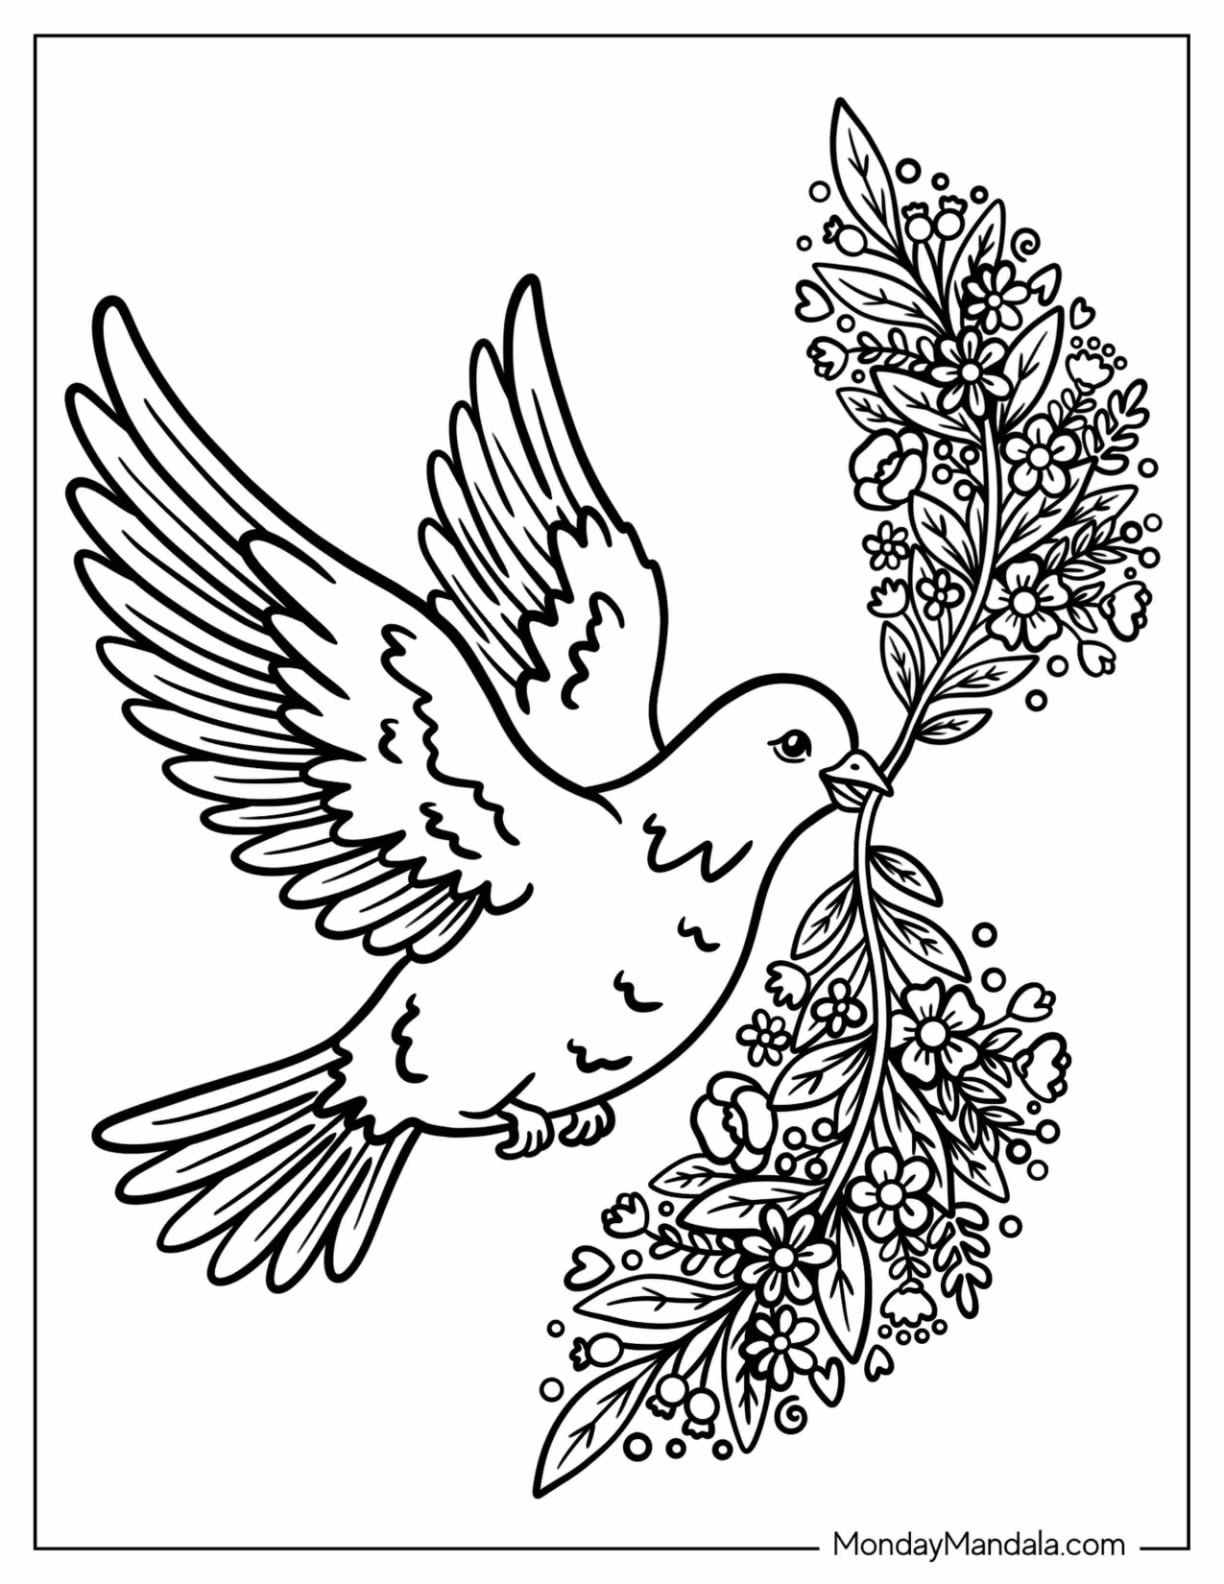
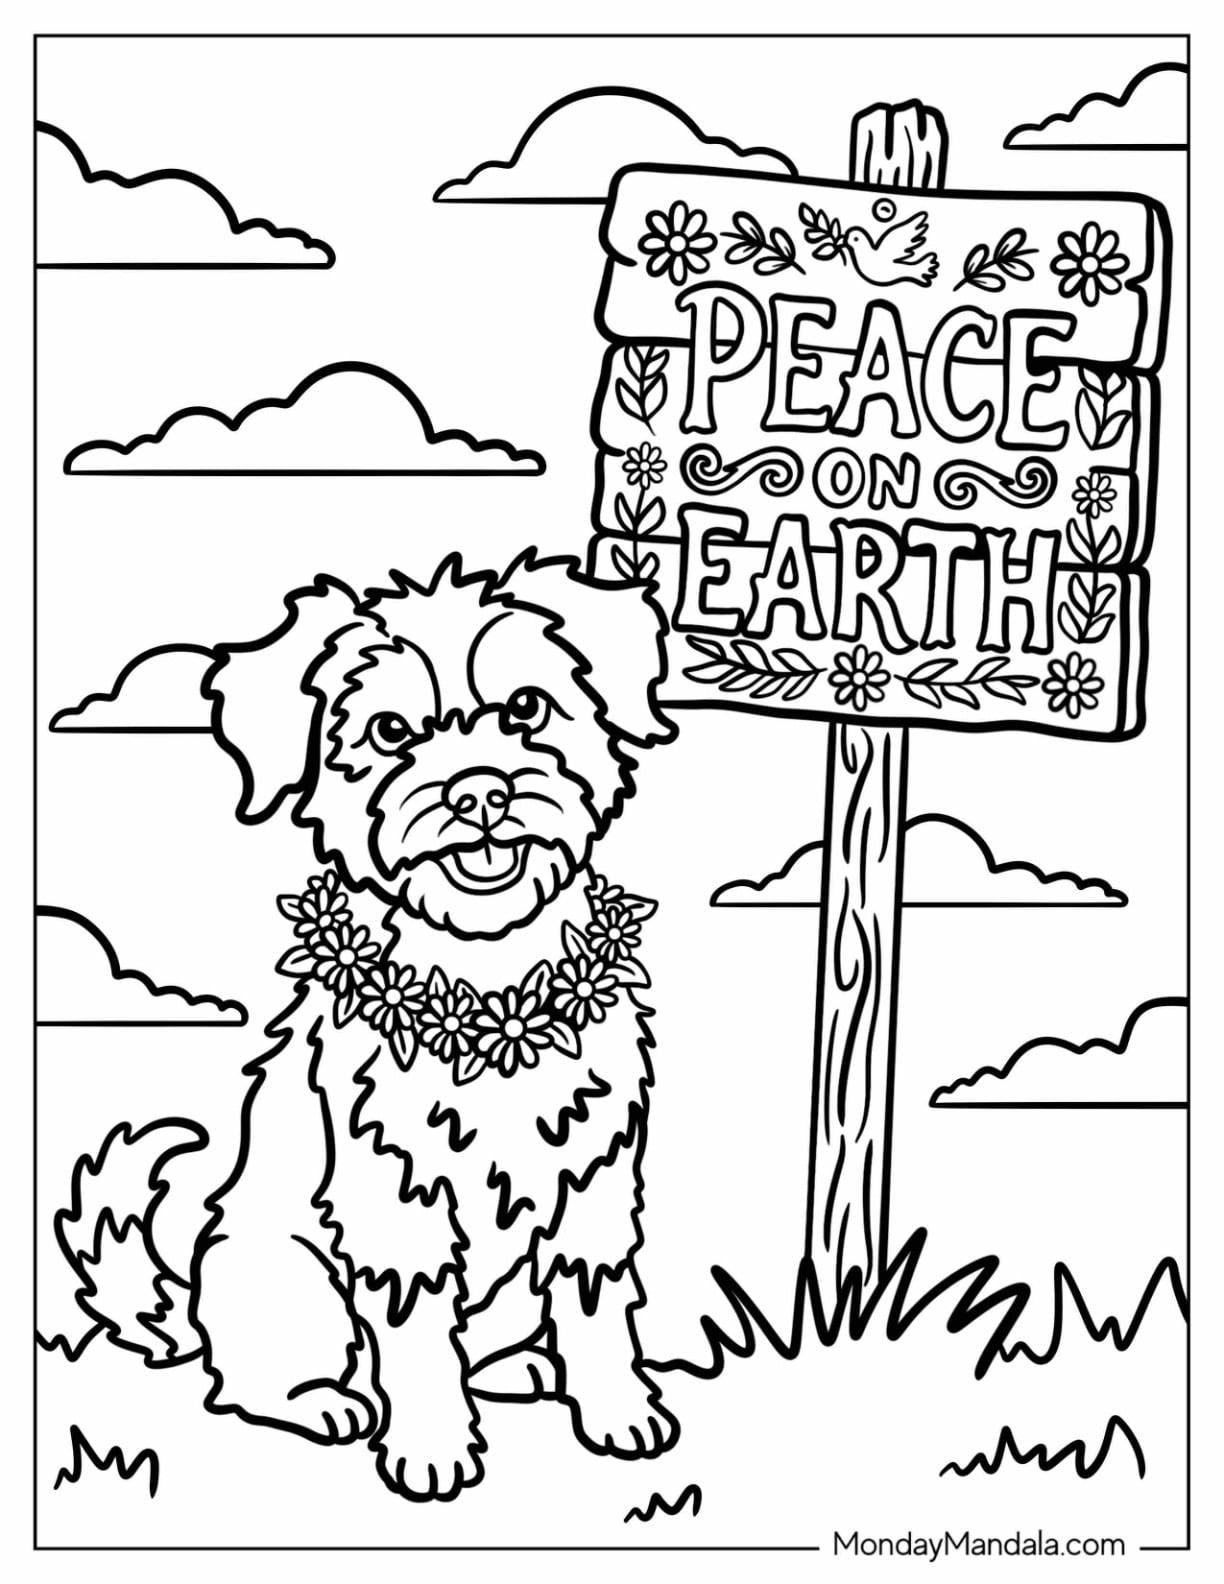
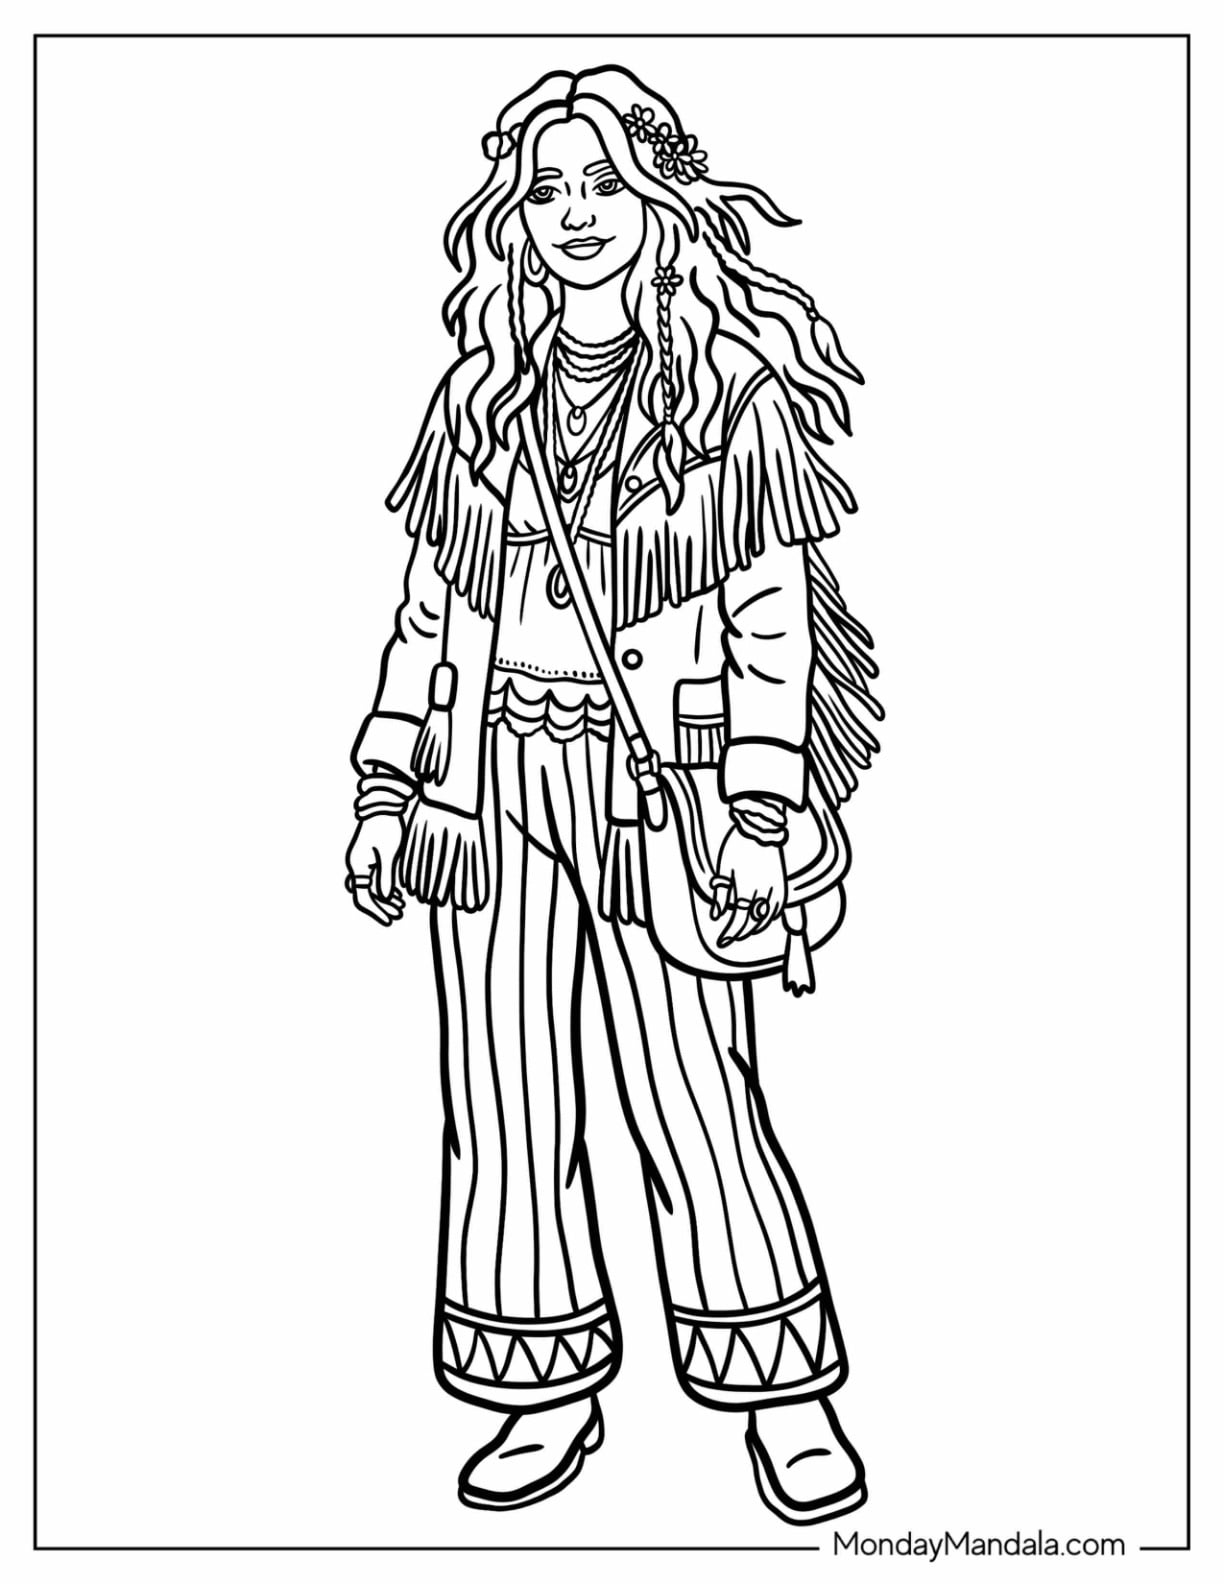
Get ready to spread messages of peace and unity with these 36 peace coloring pages that are all free to download and print! Activities that promote peace can be a powerful tool to help children and adults express their support for a more unified and embracing world.
With these printables, you can create your own unique designs and spread messages of love, hope, and peace. The pages offer a fun and engaging way to explore your creativity while promoting positive values and ideals.

To start coloring, click on any of the below images or links to open the free PDF. Once opened, you can then download or print.
All of the below pages are on US letter-sized paper, but they also scale perfectly onto A4 paper too! Happy coloring!


10 Craft Ideas To Do With Peace Coloring Pages
Here are 10 inexpensive, fun, and creative craft ideas you can do with your completed coloring page!
10. Jewelry
To make jewelry out of my peace illustrations, you will need shrink sheets and jewelry-making supplies, like wire, jump rings, earring hooks, backs, etc.
You will print off the designs you want to use and have your kids color in just the main items (no backgrounds).
Then they’ll cut them out and punch holes where they want the jewelry hardware to connect.
Bake off the cut-outs, and once they’re completely cooled, you can start making earrings, necklaces, bracelets, and even anklets.
9. Peace Rainbow
To make a peace sign rainbow, you will need to choose an illustration with a large peace sign and then get a bunch of different colors of construction paper ready.
You’ll have your kids color in the peace sign however they want and then get them to start cutting up strips of construction paper in all the colors.
Then they’ll glue or tape the construction paper strips to the back of the peace sign so that the colors hang down in a rainbow.
8. Thumbprint Peace Signs
As a fun way to fill in the lines of a peace sign, you can give your kids finger paints and have them press their thumbs onto the coloring page.
They can do rows of color (which I recommend) or different colors in a row; if the latter, you’ll just need a cup of water nearby so they can rinse their thumbs off between colors.
7. Window Clings
You can make adorable window clings out of my peace illustrations by having your kids simply trace the designs with puffy paint.
If you’re feeling extra patient, you can also fill in the lines with puffy paint (and use a swizzle stick or toothpick to distribute the paint evenly).
I say extra patience because the paint will take longer to dry fully if you fill in the lines.
Either way, once the paint is totally dry, you can carefully peel the puffy paint off the page and stick it on a window (or even on your fridge).
6. Suncatchers
For another fun window craft, you will need transparency paper, upon which you will print the designs your kids want to use.
They’ll then fill in the lines with pieces of tissue paper glued down – you can do larger pieces cut to size or smaller bits, like a mosaic.
Once the glue is dry, they’ll cut out the shapes, poke a hole in the top for a loop of string and use that to hang in a sunny window with the help of a suction cup and hook.
5. Posters/Collages
My peace illustrations would make awesome posters or collages for the pre-teen or teen’s bedroom.
You can have them color a few different pages, frame them and then create a gallery wall.
Or encourage your kid to make a collage of their middle school, high school, church, or camp experiences, gluing tickets, photos, and other keepsakes to the page.
4. Peace Sign Pom Pom Wreaths
Choose an illustration where the peace sign is larger or resize one so that it fills the page.
Print it off and have your kids cut it out. They’ll then trace the cutout onto cardstock and carefully cut that out, too. Paste the two pieces together to form one reinforced peace sign.
Poke a hole at the top of the “wreath” for later.
They’ll then glue little crafting pom poms on, filling in the lines. They can do rows of colors or random, different colors – the choice is theirs!
Once they’re done, wait for the glue to dry and loop some string through the hole you made. You can use that to hang the wreath from a mantle or on the wall.
3. Greeting Cards
Sometimes you just want to tell someone you’re thinking of them or wish them well, and my peace illustrations would make awesome cards to do just that.
You can copy/paste the pictures into a word processor and then resize them accordingly, like a half-page or a quarter-page.
If you go the quarter-page route, you’ll want to put the picture in the top left corner – and upside down. That way, the picture will be on the front when you fold the paper in half and then again.
2. Keychains
Turn my peaceful illustrations into cute keychains using shrink sheet paper and markers.
Print off the designs you want onto the shrink sheets and have your kids color in just the central figures with markers.
They’ll cut them out and then punch a hole where they want the keychain hardware to go.
Bake the shrink sheet cut-outs and wait for them to cool completely; once they’re ready, you can add the keychain hardware.
1. Peace Rocks
This fun craft is perfect for preschoolers to grade schoolers, plus there’s an element of the outdoors at the end.
You will choose the illustrations you want and, if necessary, shrink them down to the size of your rocks.
Color them in and cut them out, and then you’re going to Mod-Podge them to the rocks.
You can also add applicable hashtags to the back of the rocks in marker.
Then take a walk and leave the rocks for people to find! You can visit the playground, parks, trails, etc.
Oralia Guzmán C.
Saturday 10th of February 2024
Congratulations, you have a page with very defined images. I loved!!!! I will share with my grandchildren so they can be inspired by giving color to each one. Thank you.